Couchbase Server CE Docker Container - Example Manual Configuration
For the QuickStart exercises, a Couchbase CE 6.5 docker container can be configured with minimal system footprint using the following steps.
Alternatively, a completely automated configuration can be run instead by following <link to automated instructions>.
Prerequisite: Download and Install Docker
If Docker is not already running, go to the Docker installation page and follow the instructions.
Step 1: Run the Couchbase Server CE container image, and load the WebUI
Open a console window on your computer and enter the following command. Docker will pull the image from Docker Hub and run it:
docker run -d --name ce-6.5 -p 8091-8096:8091-8096 -p 11210-11211:11210-11211 couchbase:community-6.5.0
Sample terminal output:
$ docker run -d --name ce-6.5 -p 8091-8096:8091-8096 -p 11210-11211:11210-11211 couchbase:community-6.5.0
Unable to find image 'couchbase:community-6.5.0' locally
community-6.5.0: Pulling from library/couchbase
fe703b657a32: Already exists
f9df1fafd224: Already exists
a645a4b887f9: Already exists
57db7fe0b522: Already exists
37acf92bdab2: Already exists
987c67d0449f: Pull complete
d1e7b7590466: Pull complete
5d6276be31bb: Pull complete
cdbfb2490731: Pull complete
f48150deedae: Pull complete
fe4e6a8d4c85: Pull complete
9936f46b618f: Pull complete
b3a0ca456492: Pull complete
Digest: sha256:9a051d3bd5e34d4ae357d009f1c1640ed58bd6db2c7fc9e87fd382ccf9de52c2
Status: Downloaded newer image for couchbase:community-6.5.0
d1cd955621a98fd8193652e36197def479396af6cb77b861cf86254dd511fbaa
Open the Couchbase WebUI by navigating your web browser to this address: http://localhost:8091
Step 2: Configure Couchbase as a minimal single node cluster
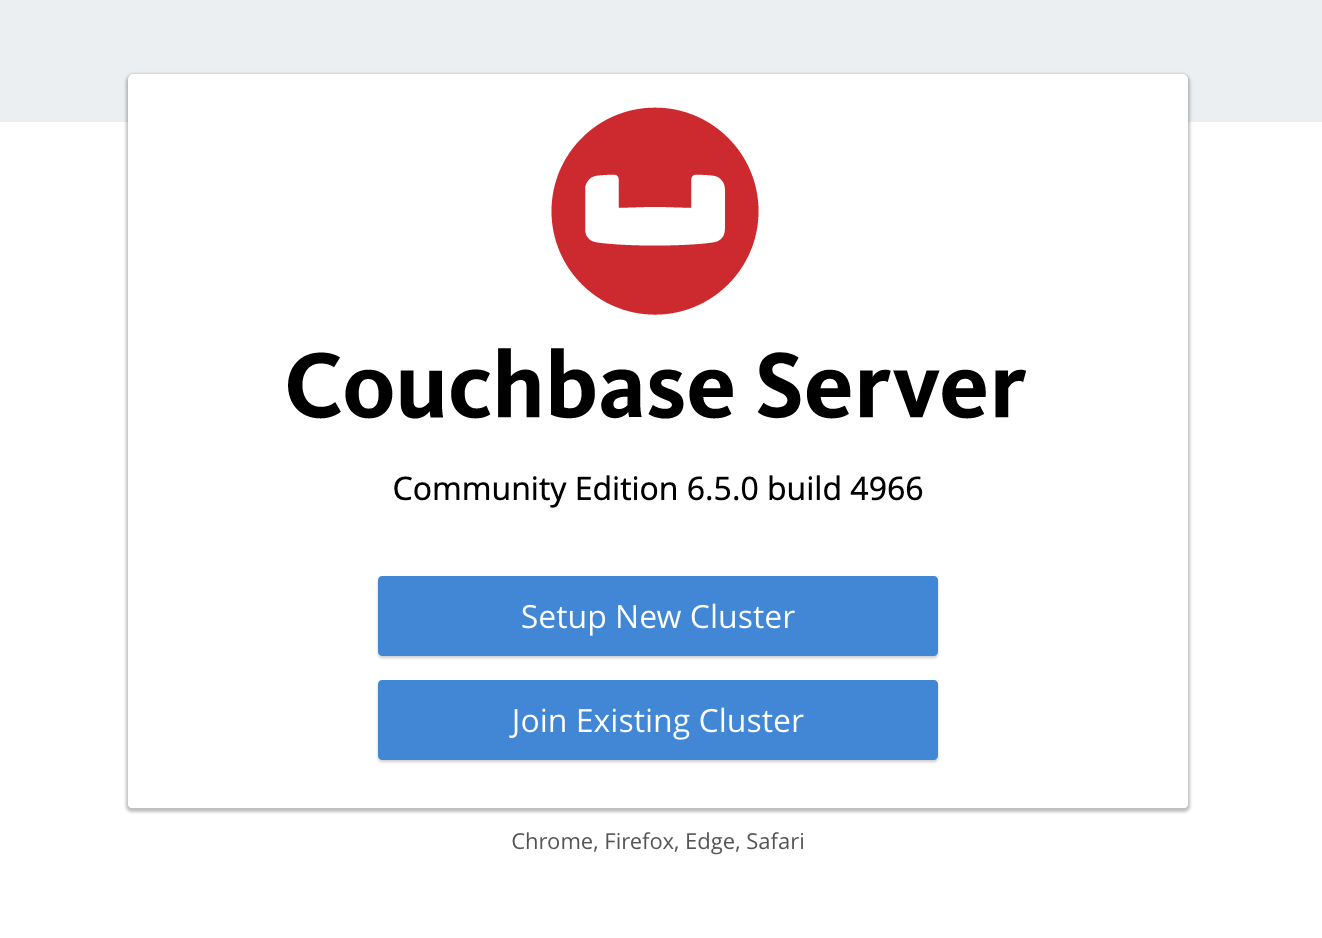
Click the "Setup New Cluster" button on the welcome screen.
Enter any cluster name and password.
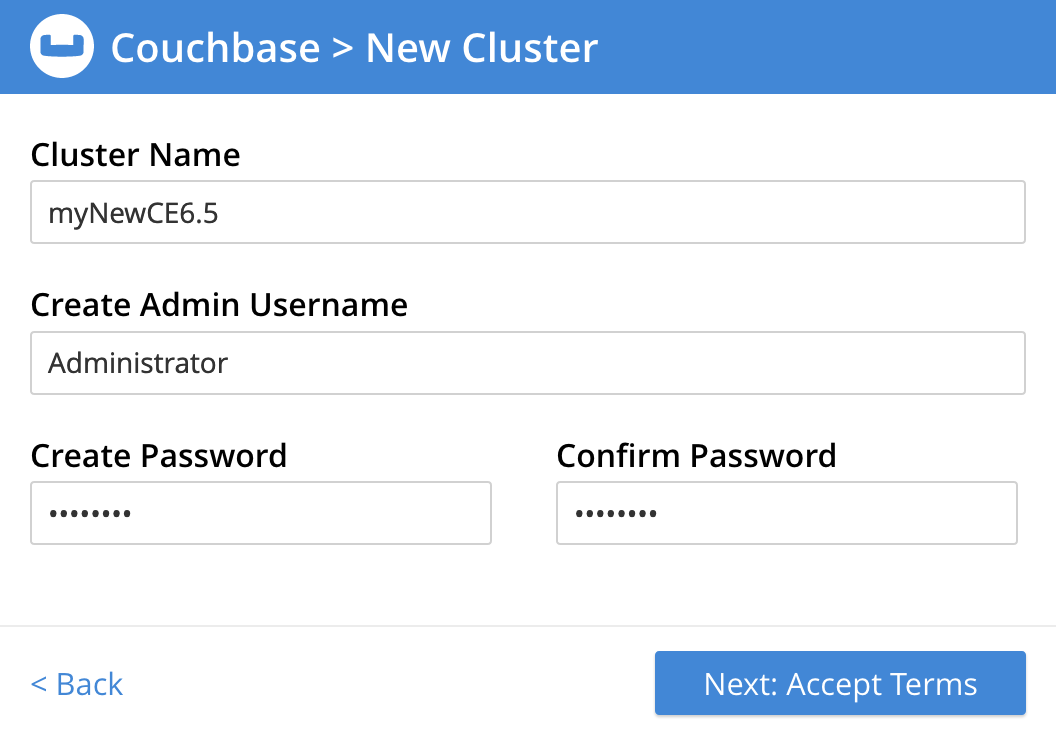
Click "Next.."
In the next screen, check the "I accept…" box to indicate your acceptance of the terms and conditions.
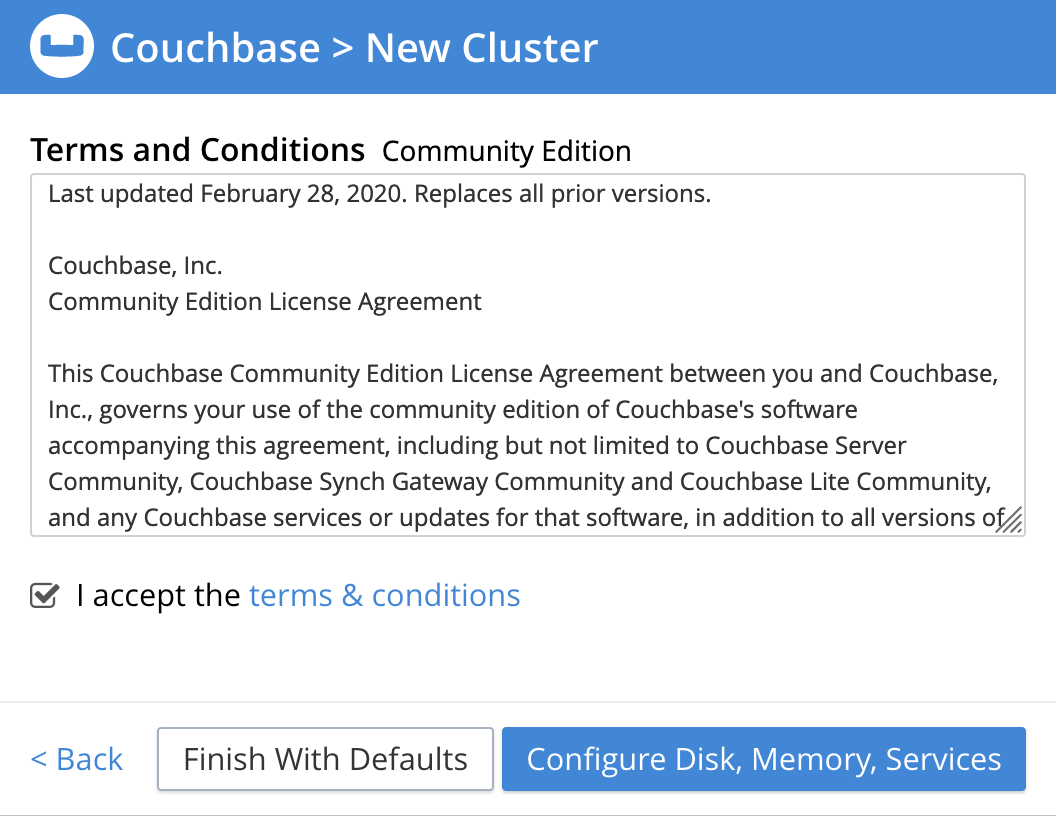
Click the "Configure Disk, Memory, Services" button. Set all the memory quotas to the 256MB minimum:
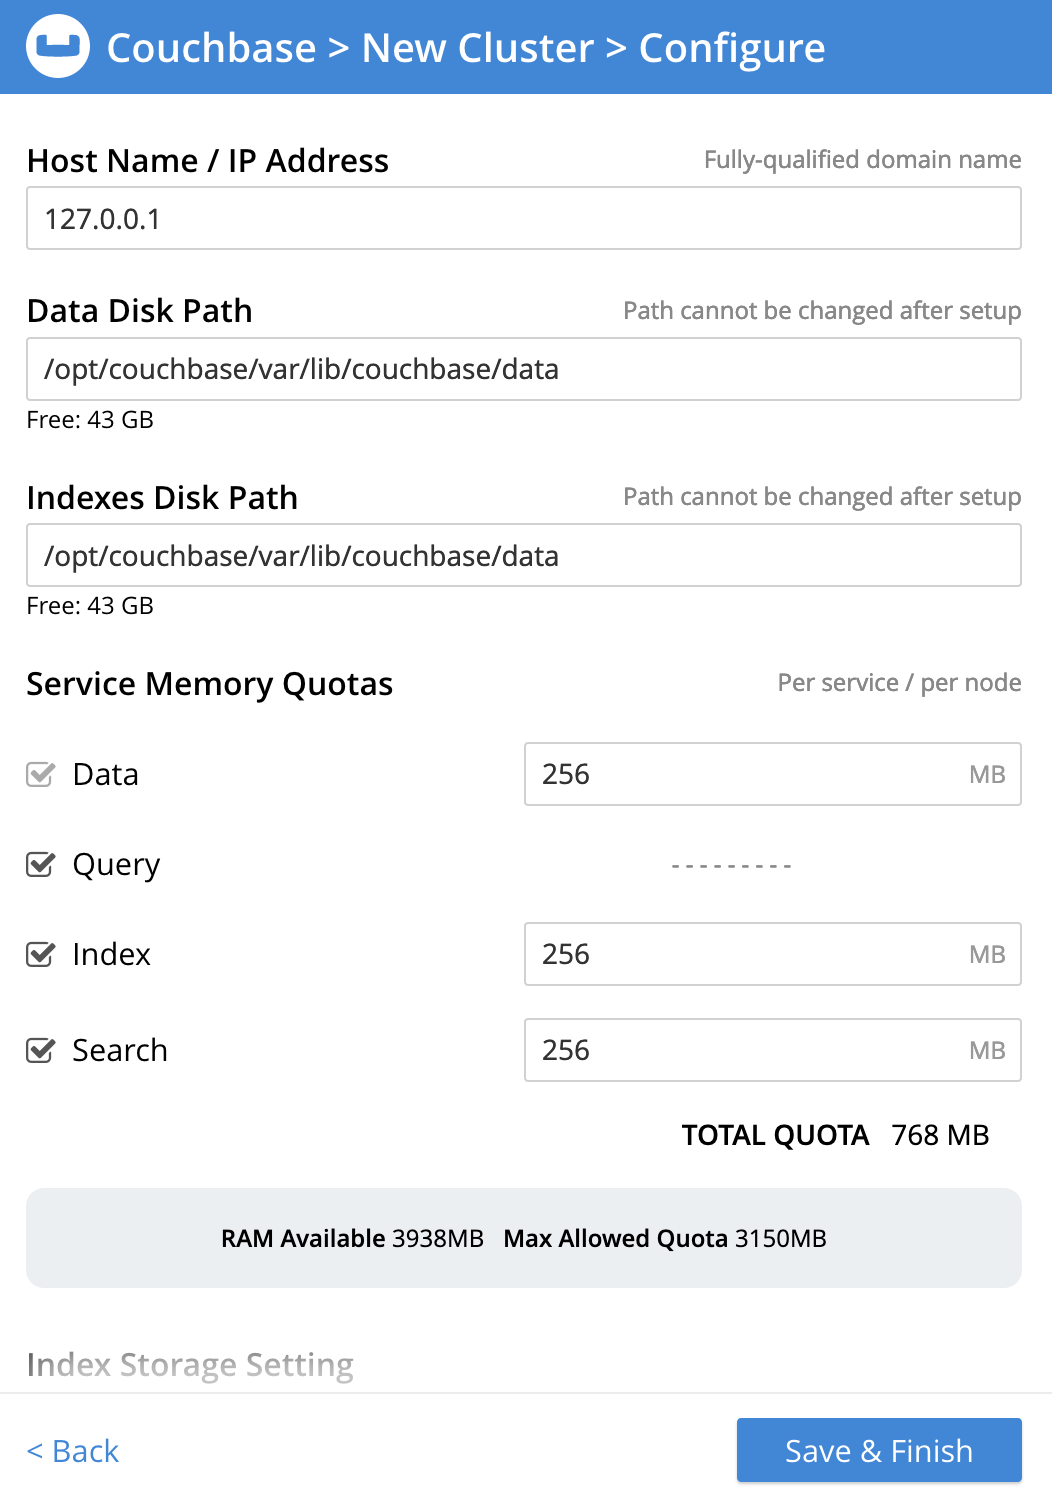
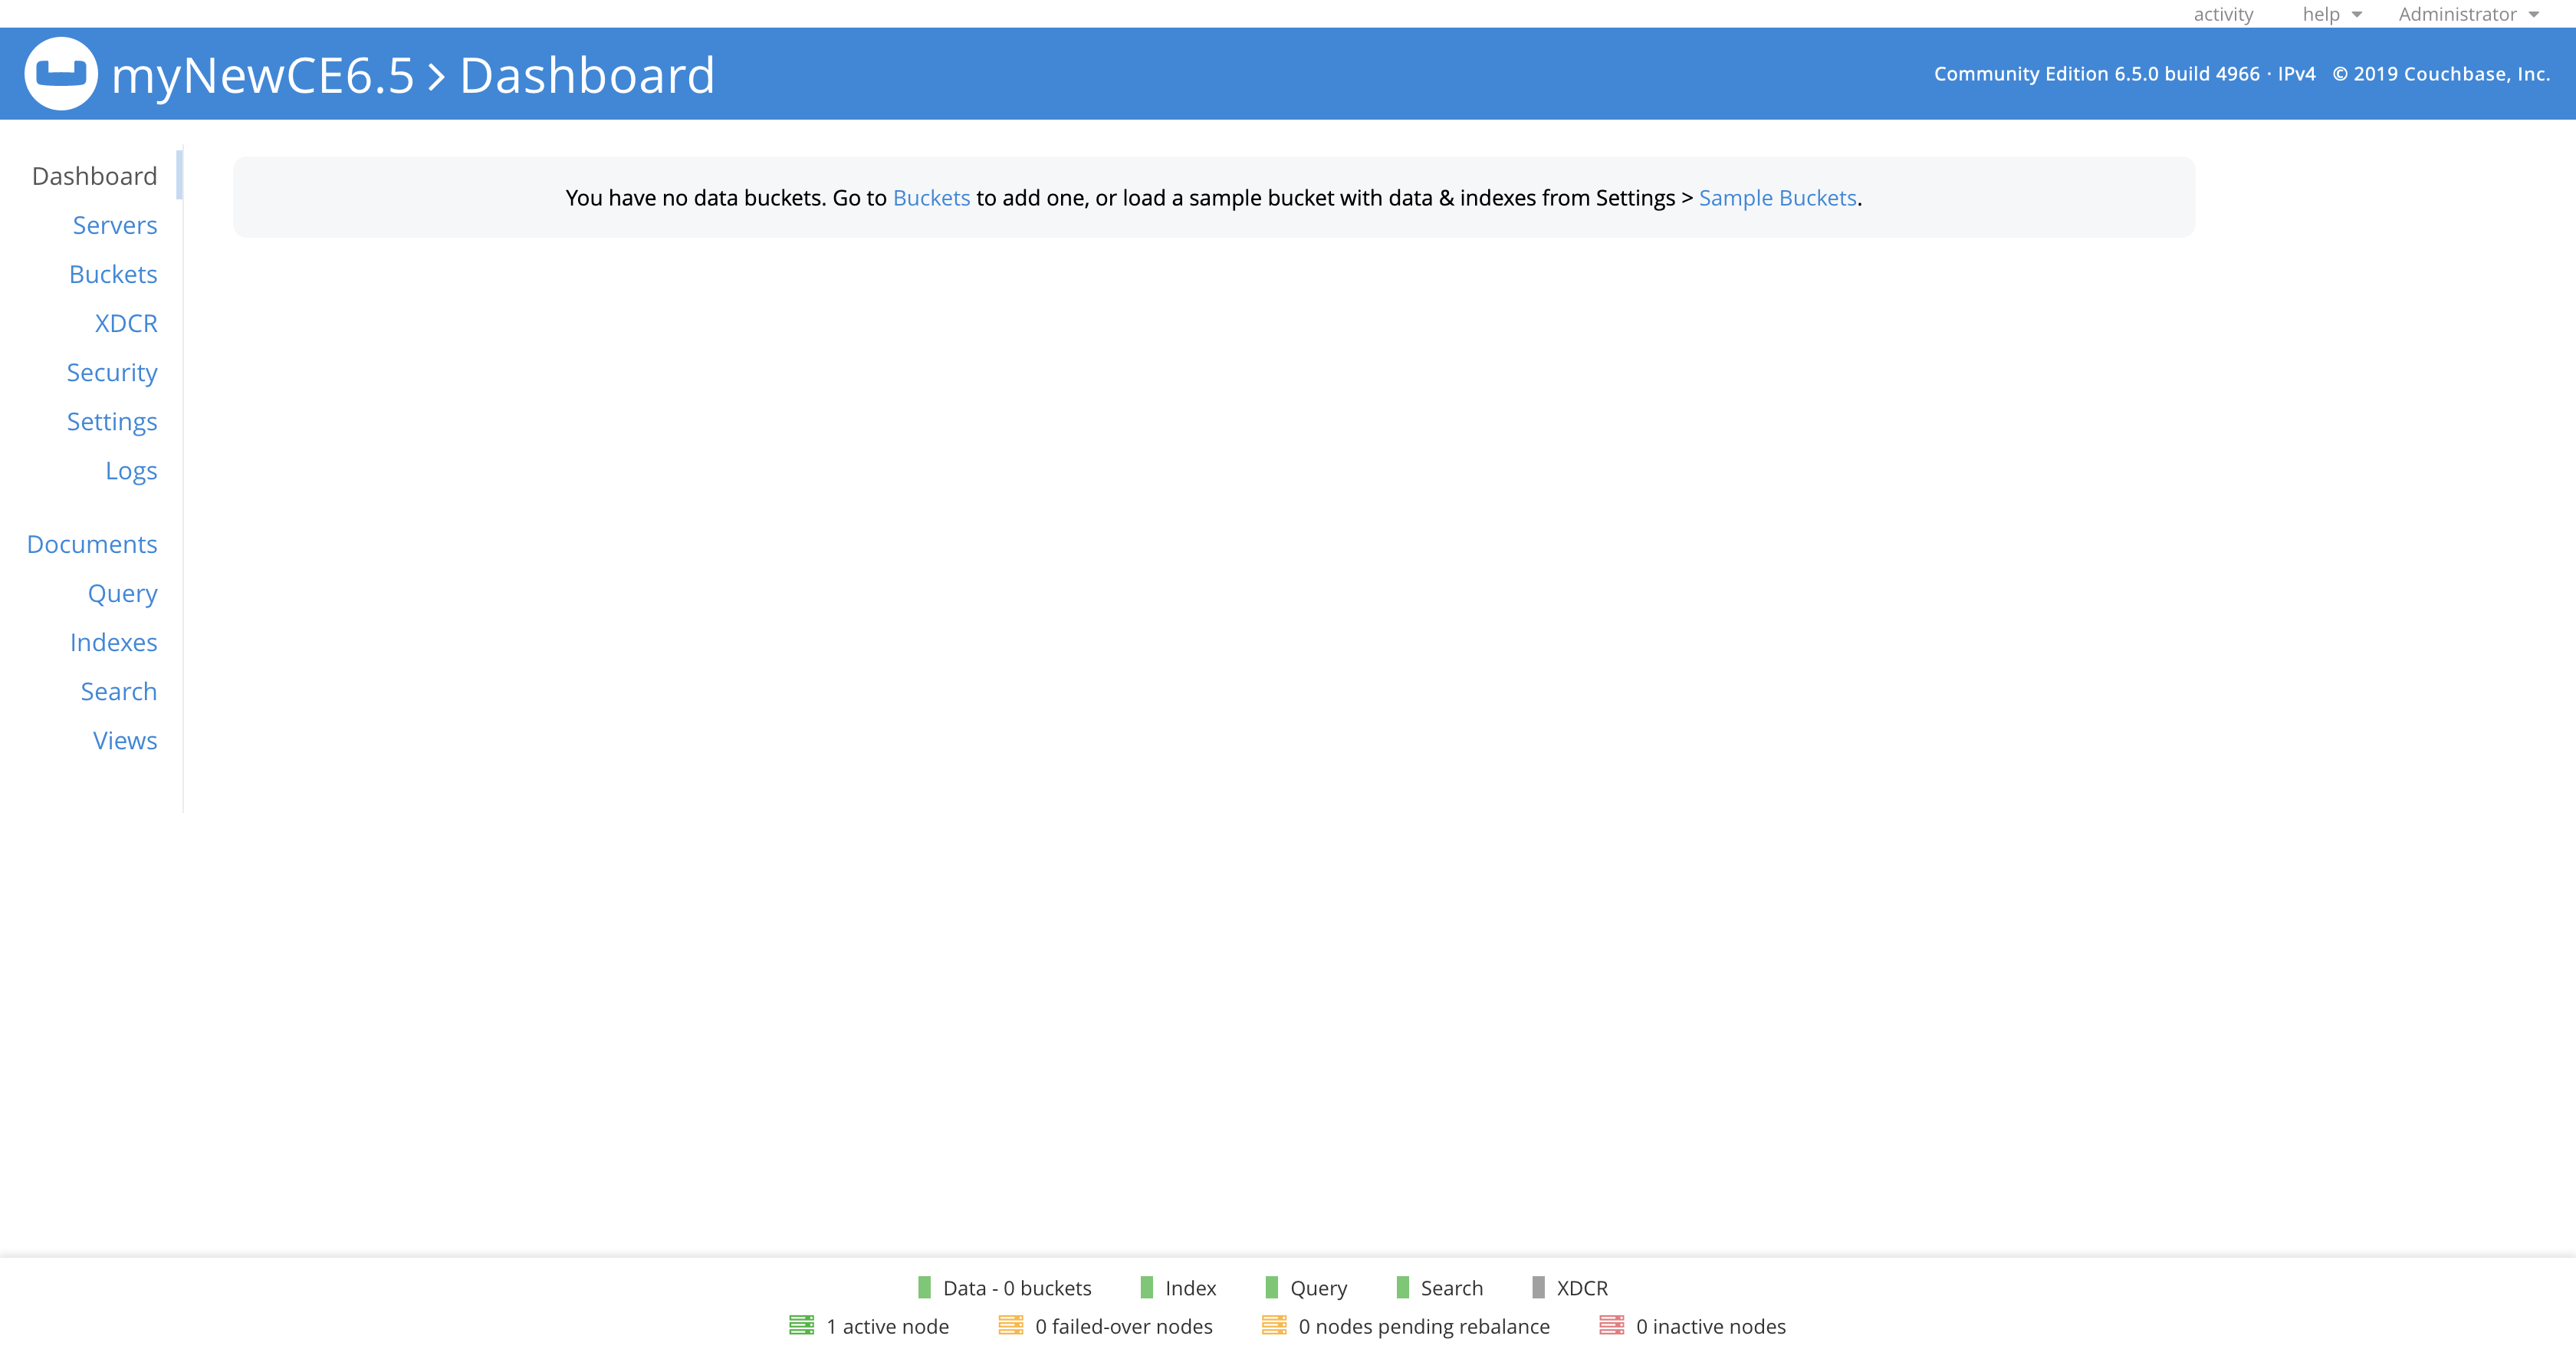
Click "Save and Finish". You will be presented with a blank Dashboard screen.
| The memory quotas can be further adjusted. Click "Settings" in the left-hand navigation bar. Under "Memory Quotas" make your changes. Click "Save", and then "Confirm". |
Step 3: Create a new data bucket
Click "Buckets" in the left-hand navigation bar, then click the "ADD BUCKET" link in the upper right corner. Enter "default" for the Name, and 100 MB for the Memory Quota.
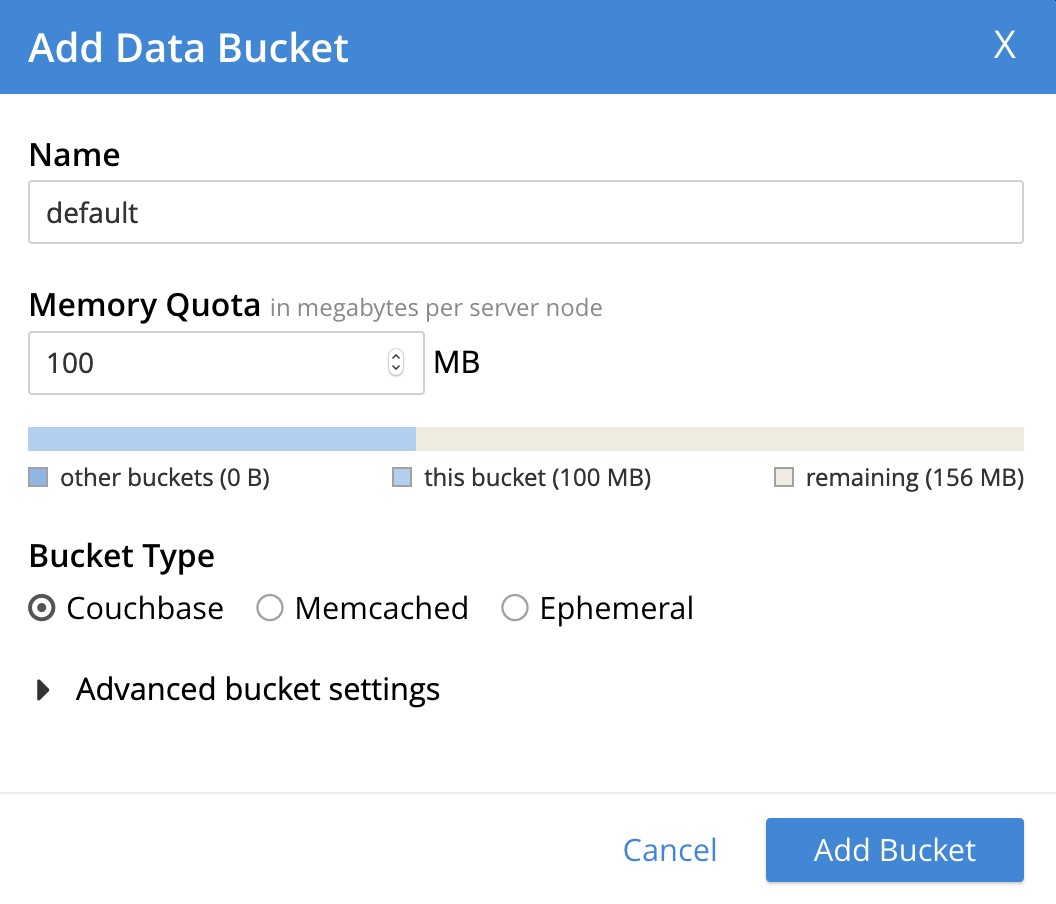
Click the "Add Bucket" button at the bottom.
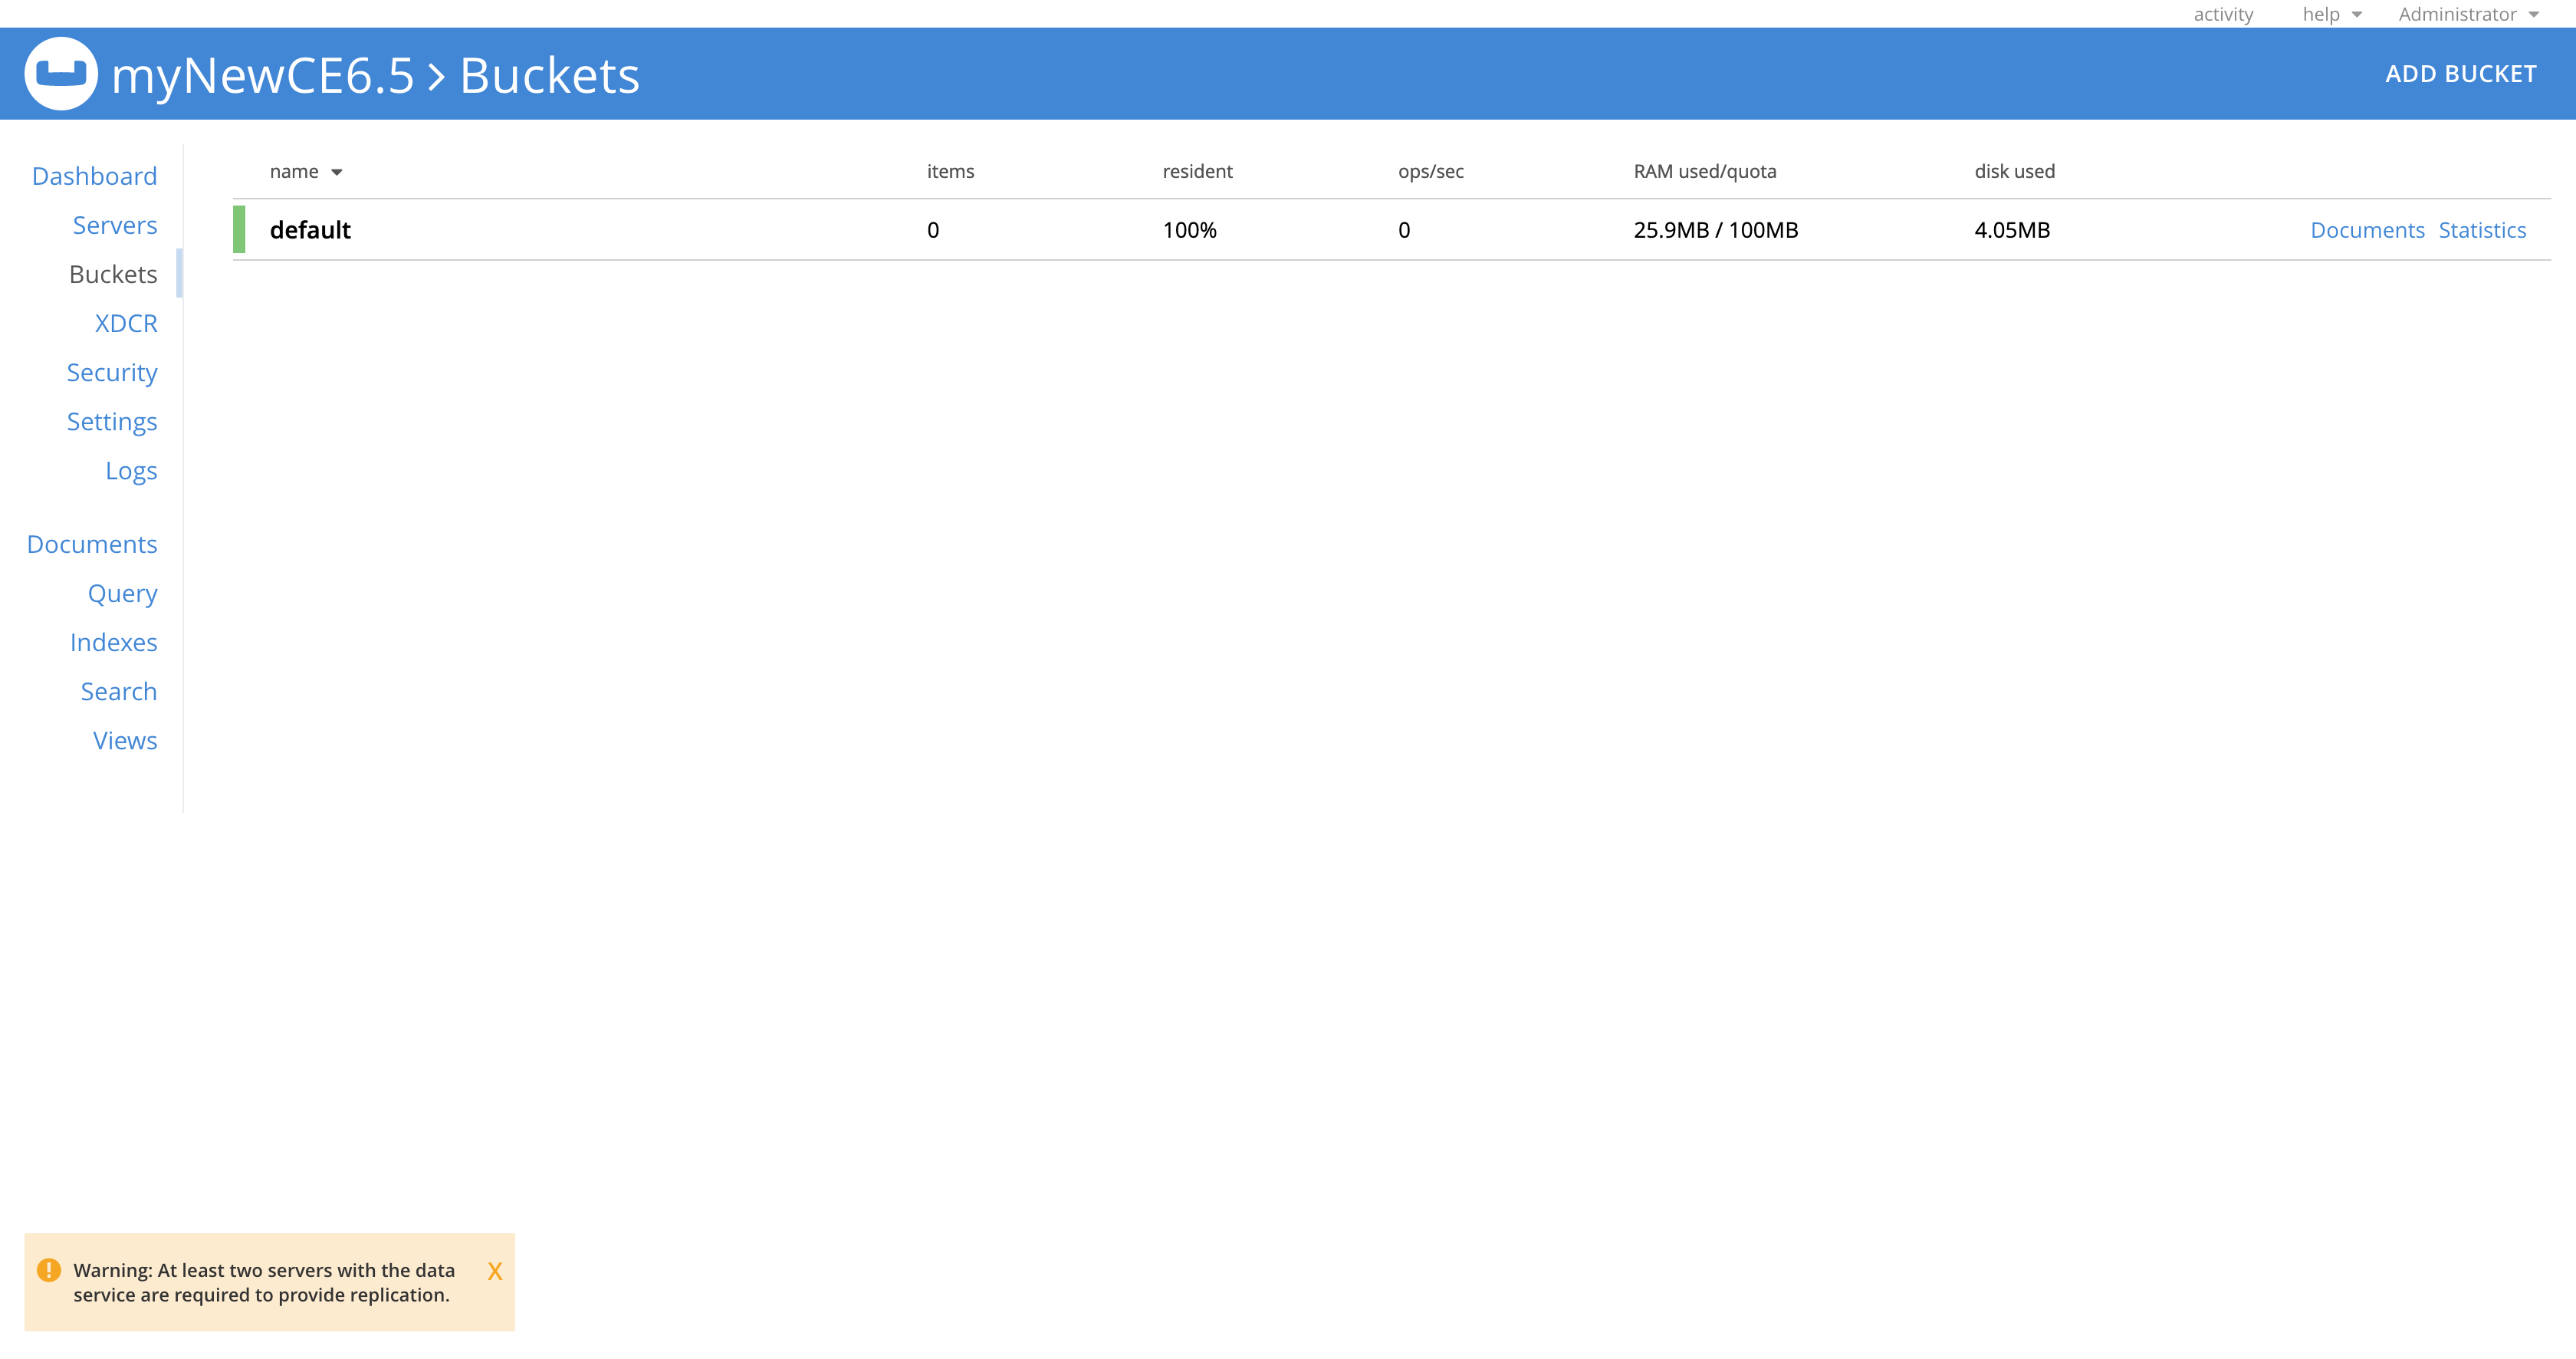
| You can ignore the "At least two servers…" warning in the lower left. |
Step 4: Create secondary indexes
The CREATE INDEX statement is used for creating secondary indexes. We will use the query workbench to create 2 indexes to facilitate our exercises:
-
one "primary index" to make initial queries easy to execute
-
one "adaptive index" to support faster filtered queries
Click "Query" in the left-hand navigation bar.
| If you recieve the "Received error 404 … " message then just refresh your browser. |
Paste both following statements into the Query Editor and click "Execute":
CREATE PRIMARY INDEX ON default;
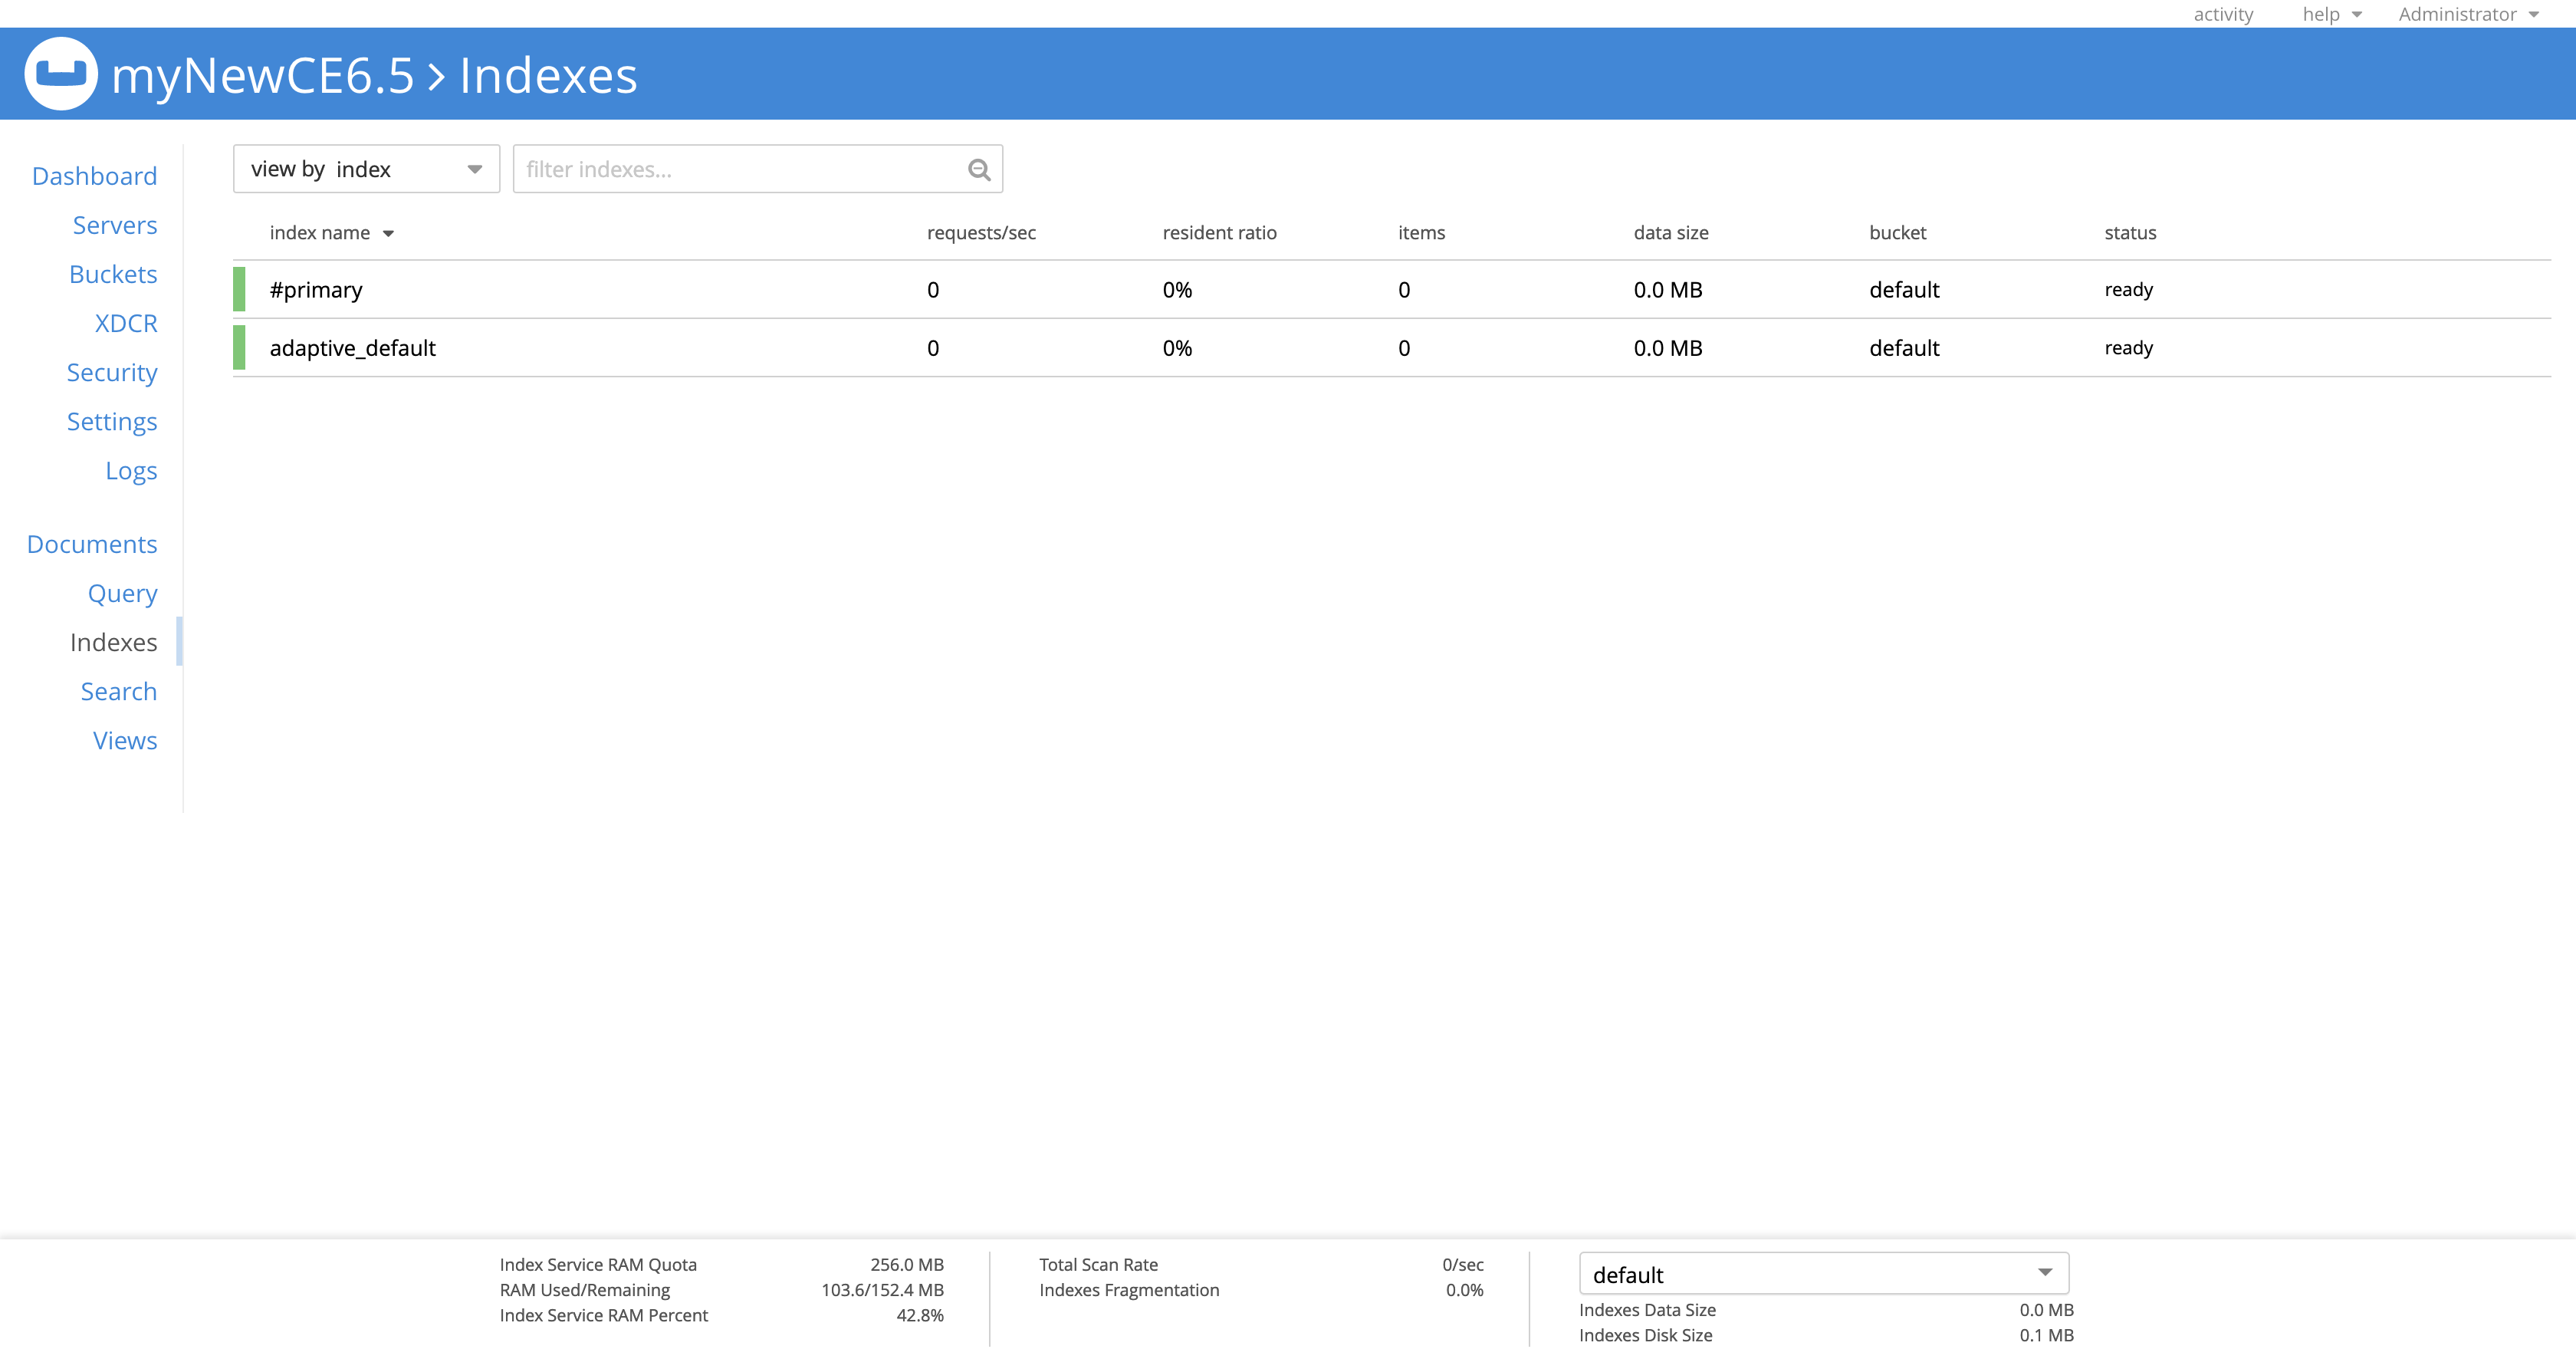
CREATE INDEX adaptive_default ON default(DISTINCT PAIRS(self));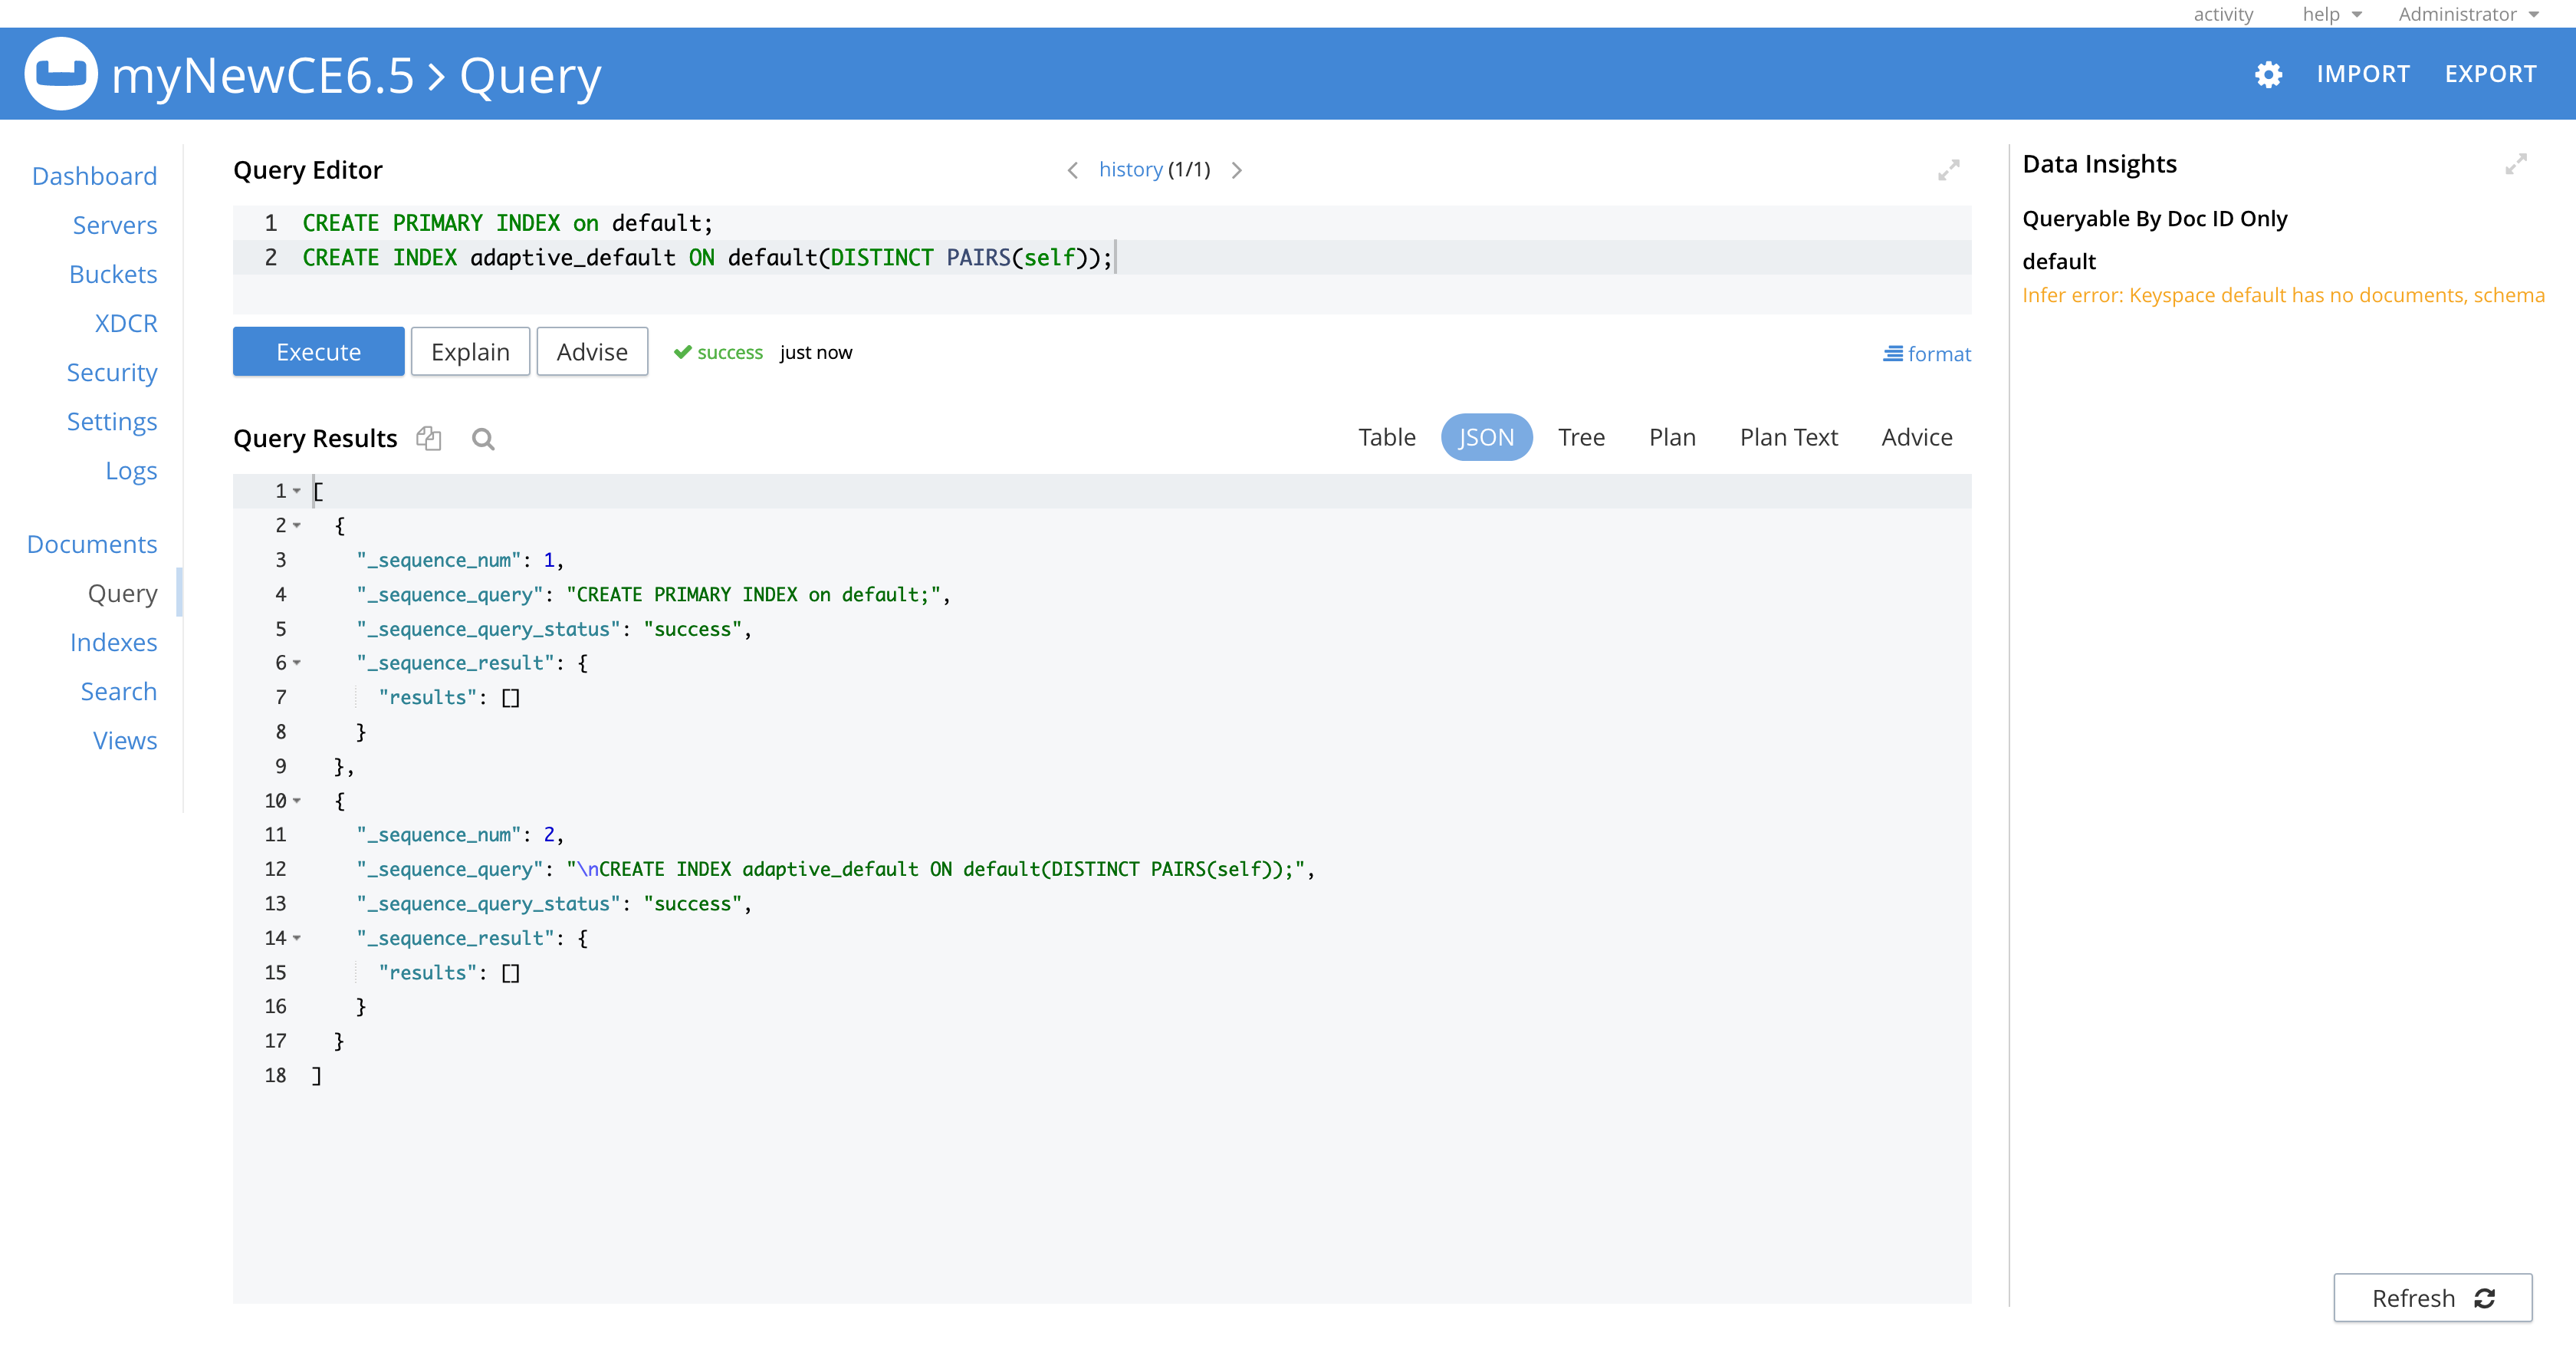
Click "Indexes" in the left-hand navigation bar to see the indexes.