Install Couchbase Lite on Swift
Description — Installing Couchbase Lite on Swift
Get Started
To get started coding Couchbase Lite for Swift apps, just create or open an existing XCode project and install the required Couchbase Lite version, for example 3.2.1, using one of the Install Couchbase Lite methods shown.
Enterprise users can also download the Couchbase Lite Vector Search extension library.
|
Couchbase Lite is distributed as an XCFramework, to support this:
|
Install Couchbase Lite
.
-
Direct Download
-
Carthage
-
CocoaPods
-
Swift Package Manager
-
Download the binaries from here — Extend with Mobile.
-
Unpack the download zip file into your XCode project location.
-
Select your target settings in XCode and drag CouchbaseLiteSwift.xcframework from your Finder to the Frameworks, Libraries, and Embedded Content section.
-
Start using Couchbase Lite on Swift in your project.
| The minimum required Carthage version is 0.38+ |
-
Install Carthage using the instructions here:
https://github.com/Carthage/Carthage#installing-carthage -
In your Cartfile, add the appropriate 'binary' URL:
Couchbase Lite Community Editionbinary "https://packages.couchbase.com/releases/couchbase-lite-ios/carthage/CouchbaseLite-Community.json" ~> 3.2.11 Specify the required version number, here we use the latest version Couchbase Lite Enterprise Editionbinary "https://packages.couchbase.com/releases/couchbase-lite-ios/carthage/CouchbaseLite-Enterprise.json" ~> 3.2.1 (1)1 Specify the required version number, here we use the latest version -
Run
carthage update --platform ios. -
Drag CouchbaseLiteSwift.xcframework from Carthage/Build/ to the Xcode navigator.
-
Select , add CouchbaseLiteSwift.xcframework to this section.
| The minimum required Cocoapods version is 1.15 |
-
Install CocoaPods using the instructions here:
https://guides.cocoapods.org/using/getting-started.html -
Add one of these targets to your Podfile:
Couchbase Lite Community Editiontarget 'Example' do use_frameworks! pod 'CouchbaseLite-Swift', '3.2.1' (1) end1 Specify the required version number, here we use the latest version Couchbase Lite Enterprise Editiontarget 'Example' do use_frameworks! pod 'CouchbaseLite-Swift-Enterprise', '3.2.1' (1) end1 Specify the required version number, here we use the latest version -
Install the pods and open the
.xcworkspacefile generated by CocoaPods, using:pod install
| Using Swift Package Manager to install CouchbaseLiteSwift requires XCode 12+ |
This tab explains how to include the CouchbaseLiteSwift package within your app
See: Use Case 1. Include in Existing Swift Package | Use Case 2. Include in Your App Project
Here we will add the CouchbaseLiteSwift dependency to your Parent Swift package — see: Example 1 for the sample manifest.
-
Add the CouchbaseLiteSwift package as dependency by including the following in the parent package manifest:
dependencies: [
  .package(name: "CouchbaseLiteSwift",
    url: "insert Couchbase Lite URL", (1)
    from: "3.2.1"), (2)
  ],
1 Insert appropriate Couchbase Lite URL:
For Community Edition use: https://github.com/couchbase/couchbase-lite-ios.git
For Enterprise Edition use: https://github.com/couchbase/couchbase-lite-swift-ee.git2 Include the required version number here, for example the latest version is 3.2.1 -
Add the dependent package product name, to the target:
targets: [ .target(name: "ParentPackage", dependencies: ["CouchbaseLiteSwift"]), ] -
Import CouchbaseLiteSwift, and use it:
import CouchbaseLiteSwift

class ParentPackageSomeClass {
  func someFunction() {
    let db = try! Database(name: "testdb")
    print(">> opening the db: \(db.name)")
  }
}
// swift-tools-version:5.3
import PackageDescription
let package = Package(
name: "ParentPackage",
products: [
  .library(
    name: "ParentPackage",
    targets: ["ParentPackage"]),
  ],
dependencies: [
  .package(name: "CouchbaseLiteSwift",
    url: "https://github.com/couchbase/couchbase-lite-swift-ee.git", from: "3.2.1"),
  ],
targets: [
  .target(
    name: "ParentPackage",
    dependencies: ["CouchbaseLiteSwift"]),
  .testTarget(
    name: "ParentPackageTests",
    dependencies: ["ParentPackage"]),
  ]
)Here we will add CouchbaseLiteSwift directly into your app
-
Open the project to which you are going to add CouchbaseLiteSwift
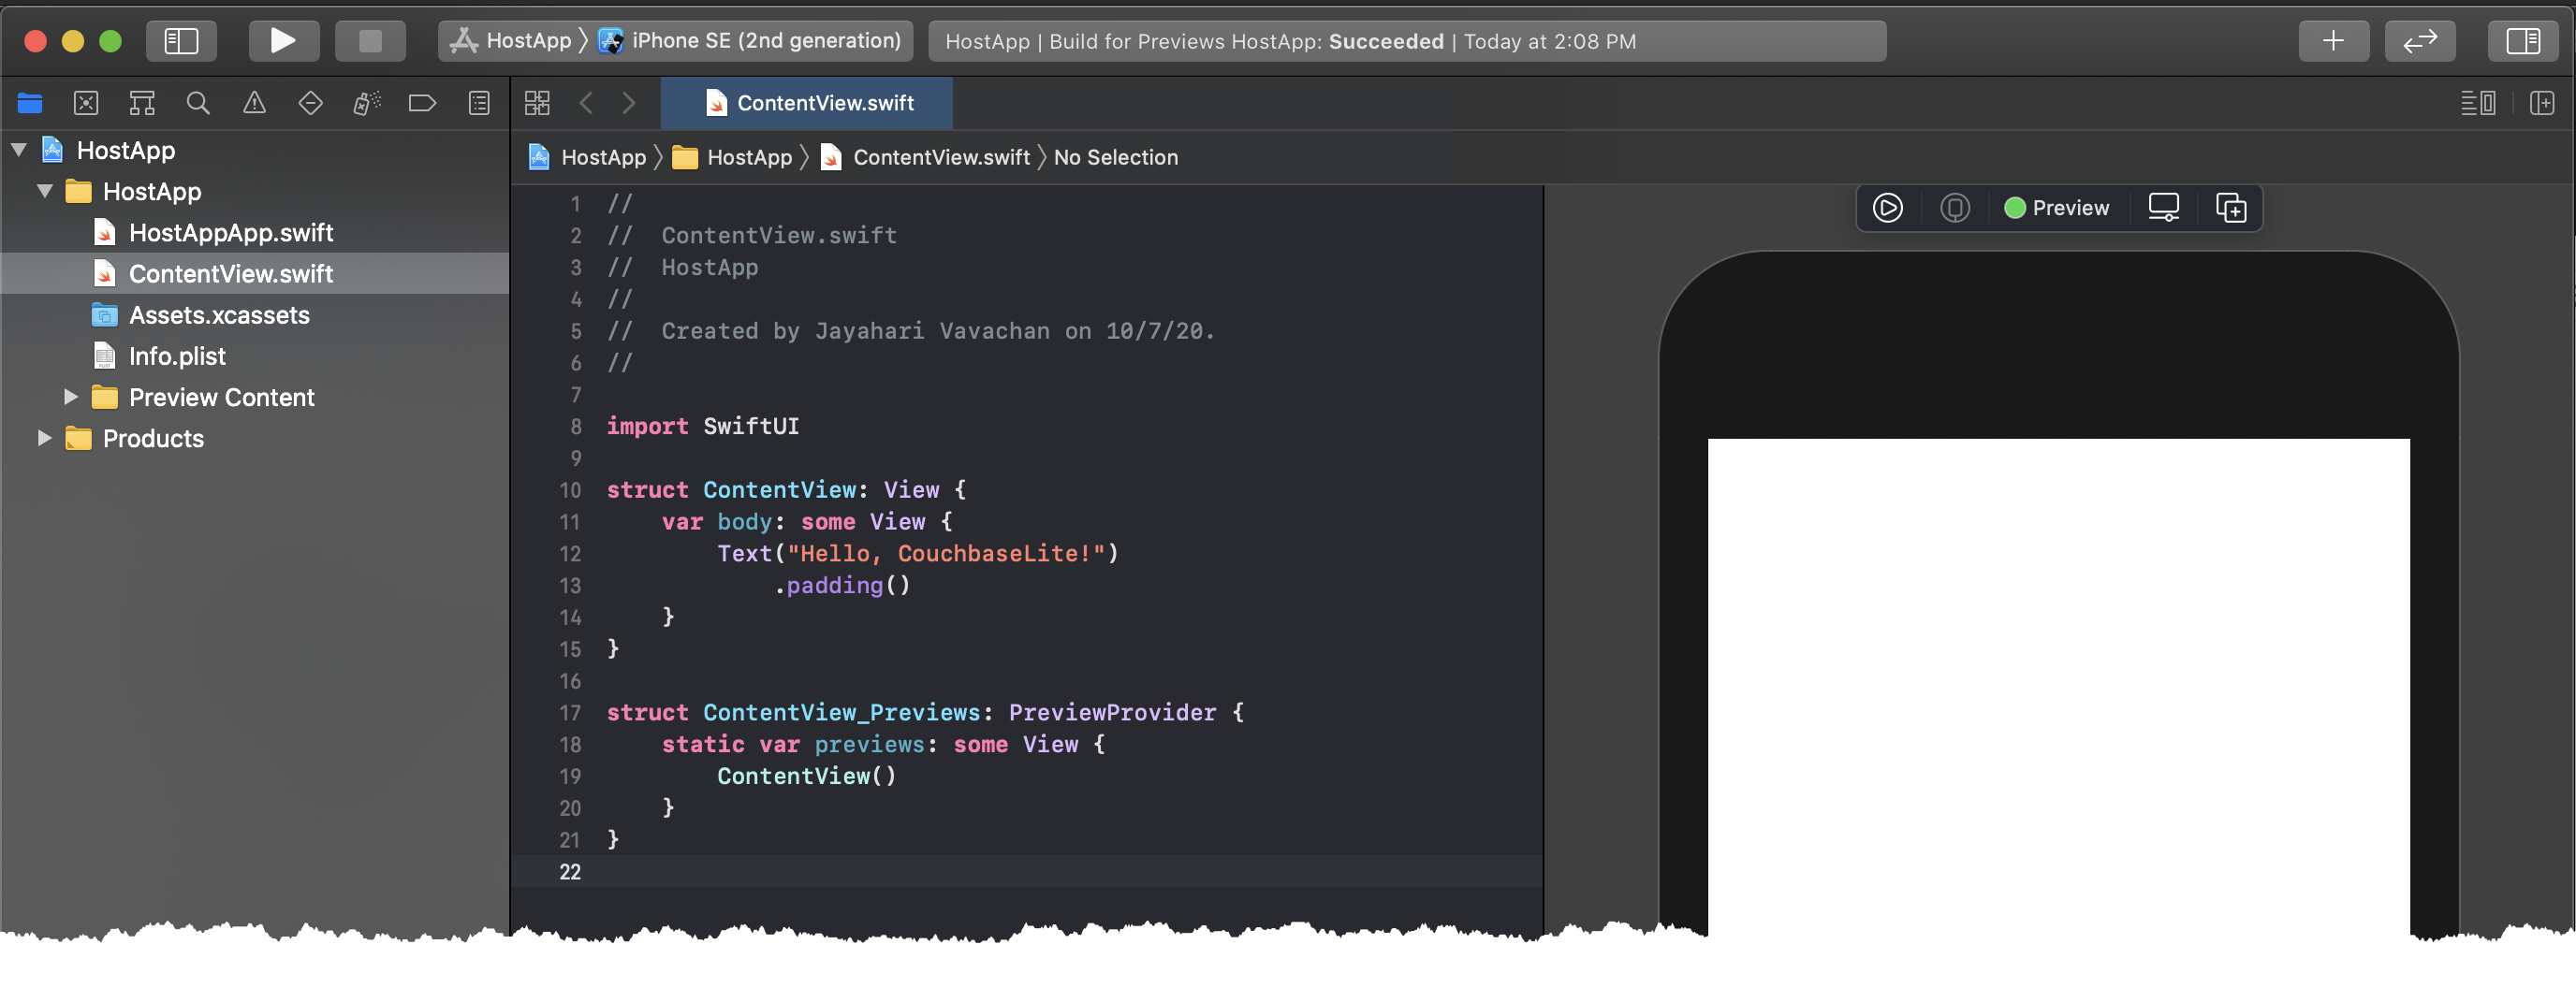
-
Open the Project Editor to add a dependency
-
In Project Navigator:
Select your Xcode project file (for example,HostAppin the example)
Xcode opens the Project Editor pane -
In the Project Editor pane:
Select and + to add the dependency
Xcode opens the Choose Package Repository dialog
-
-
In the Choose Package Repository dialog:
Enter the appropriate Couchbase Lite URL, Next to continue
For example: https://github.com/couchbase/couchbase-lite-swift-ee.git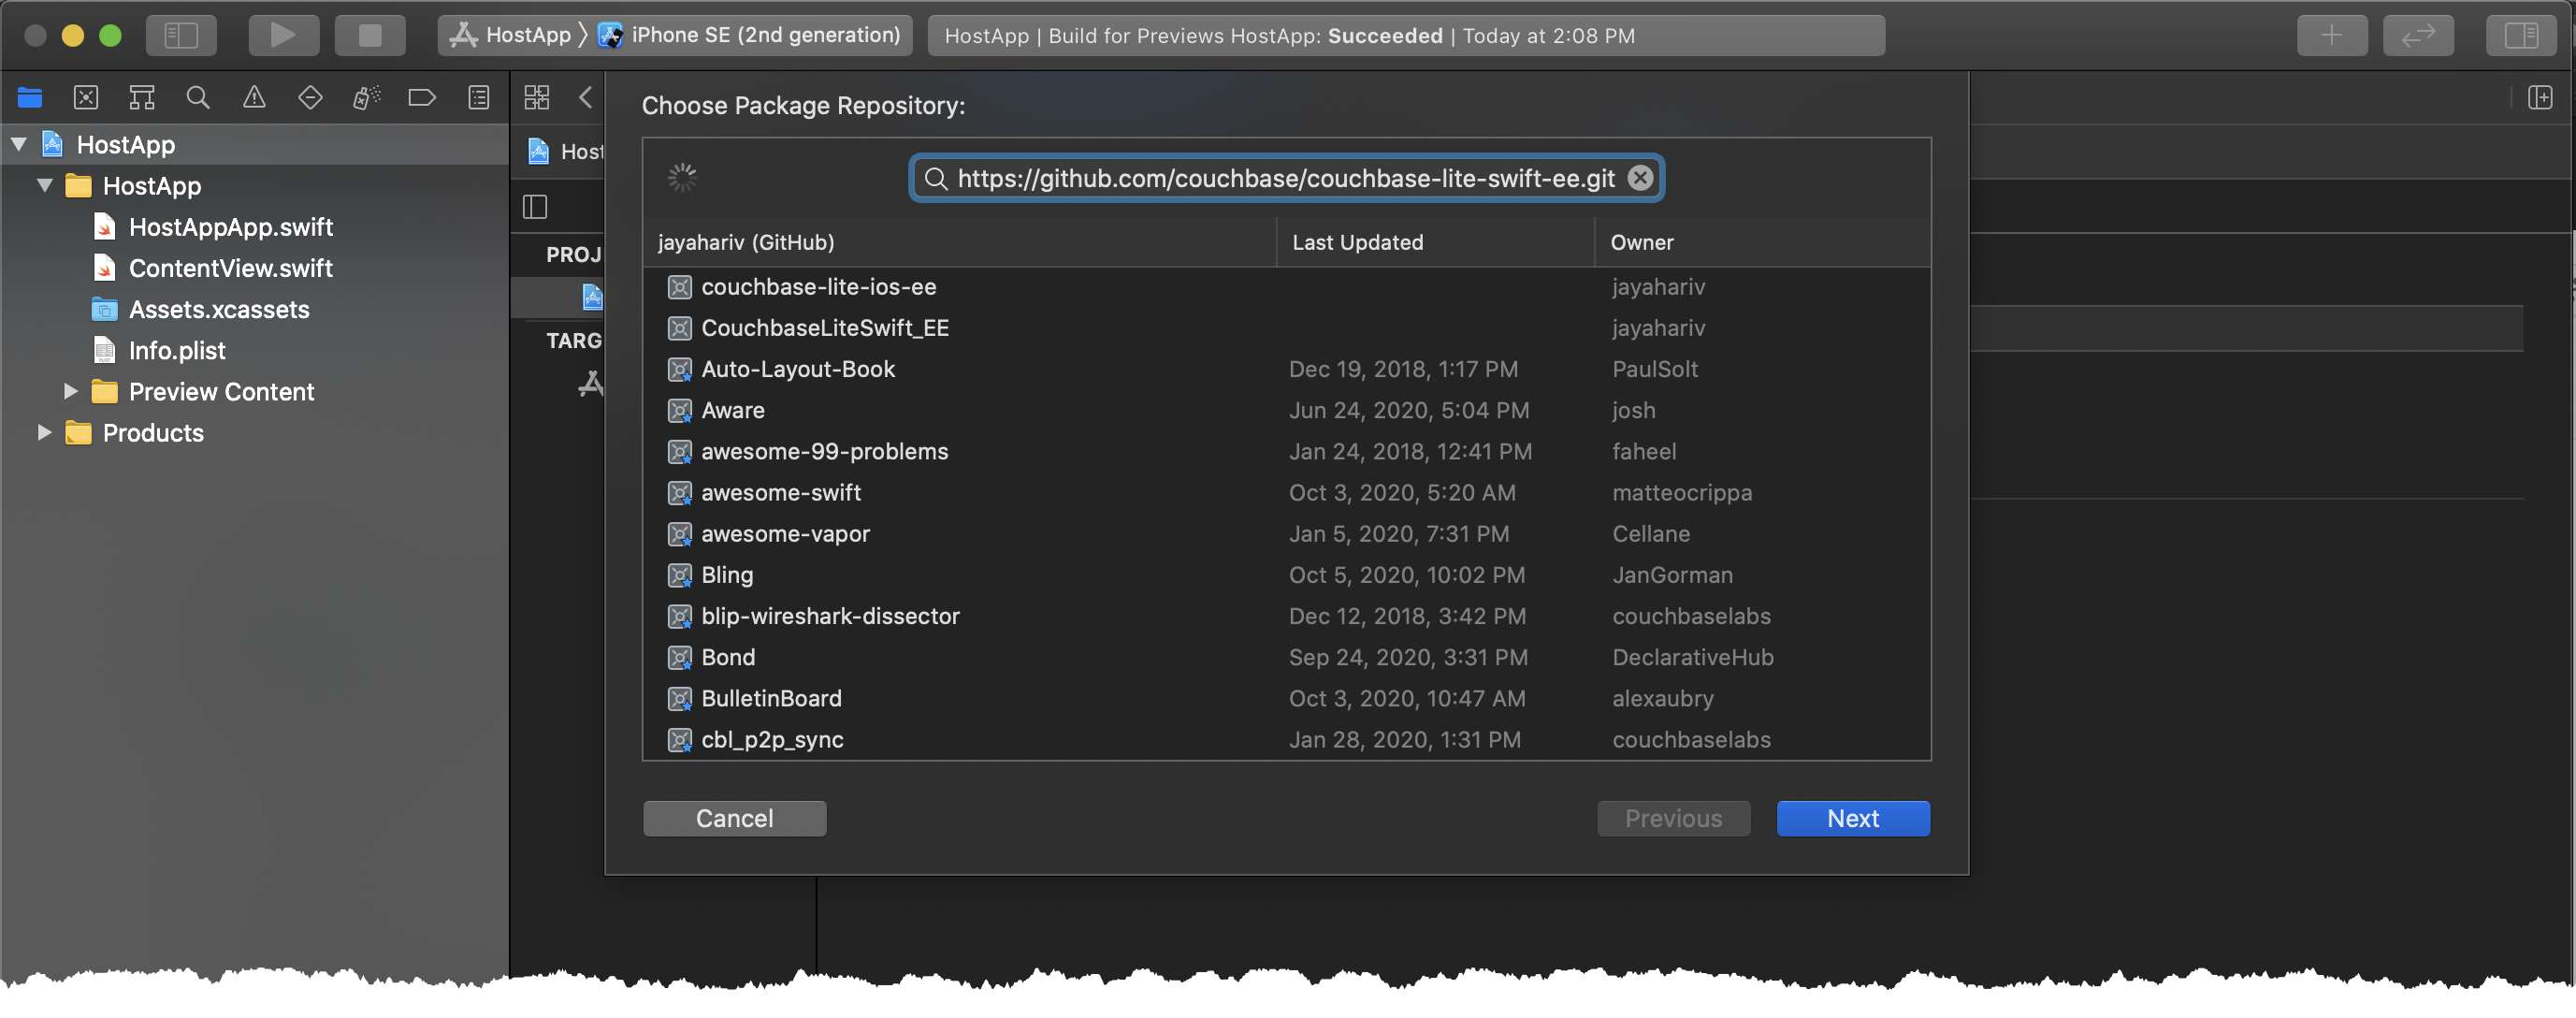
-
Enter the required Version (the latest is 3.2.1) and Next to continue
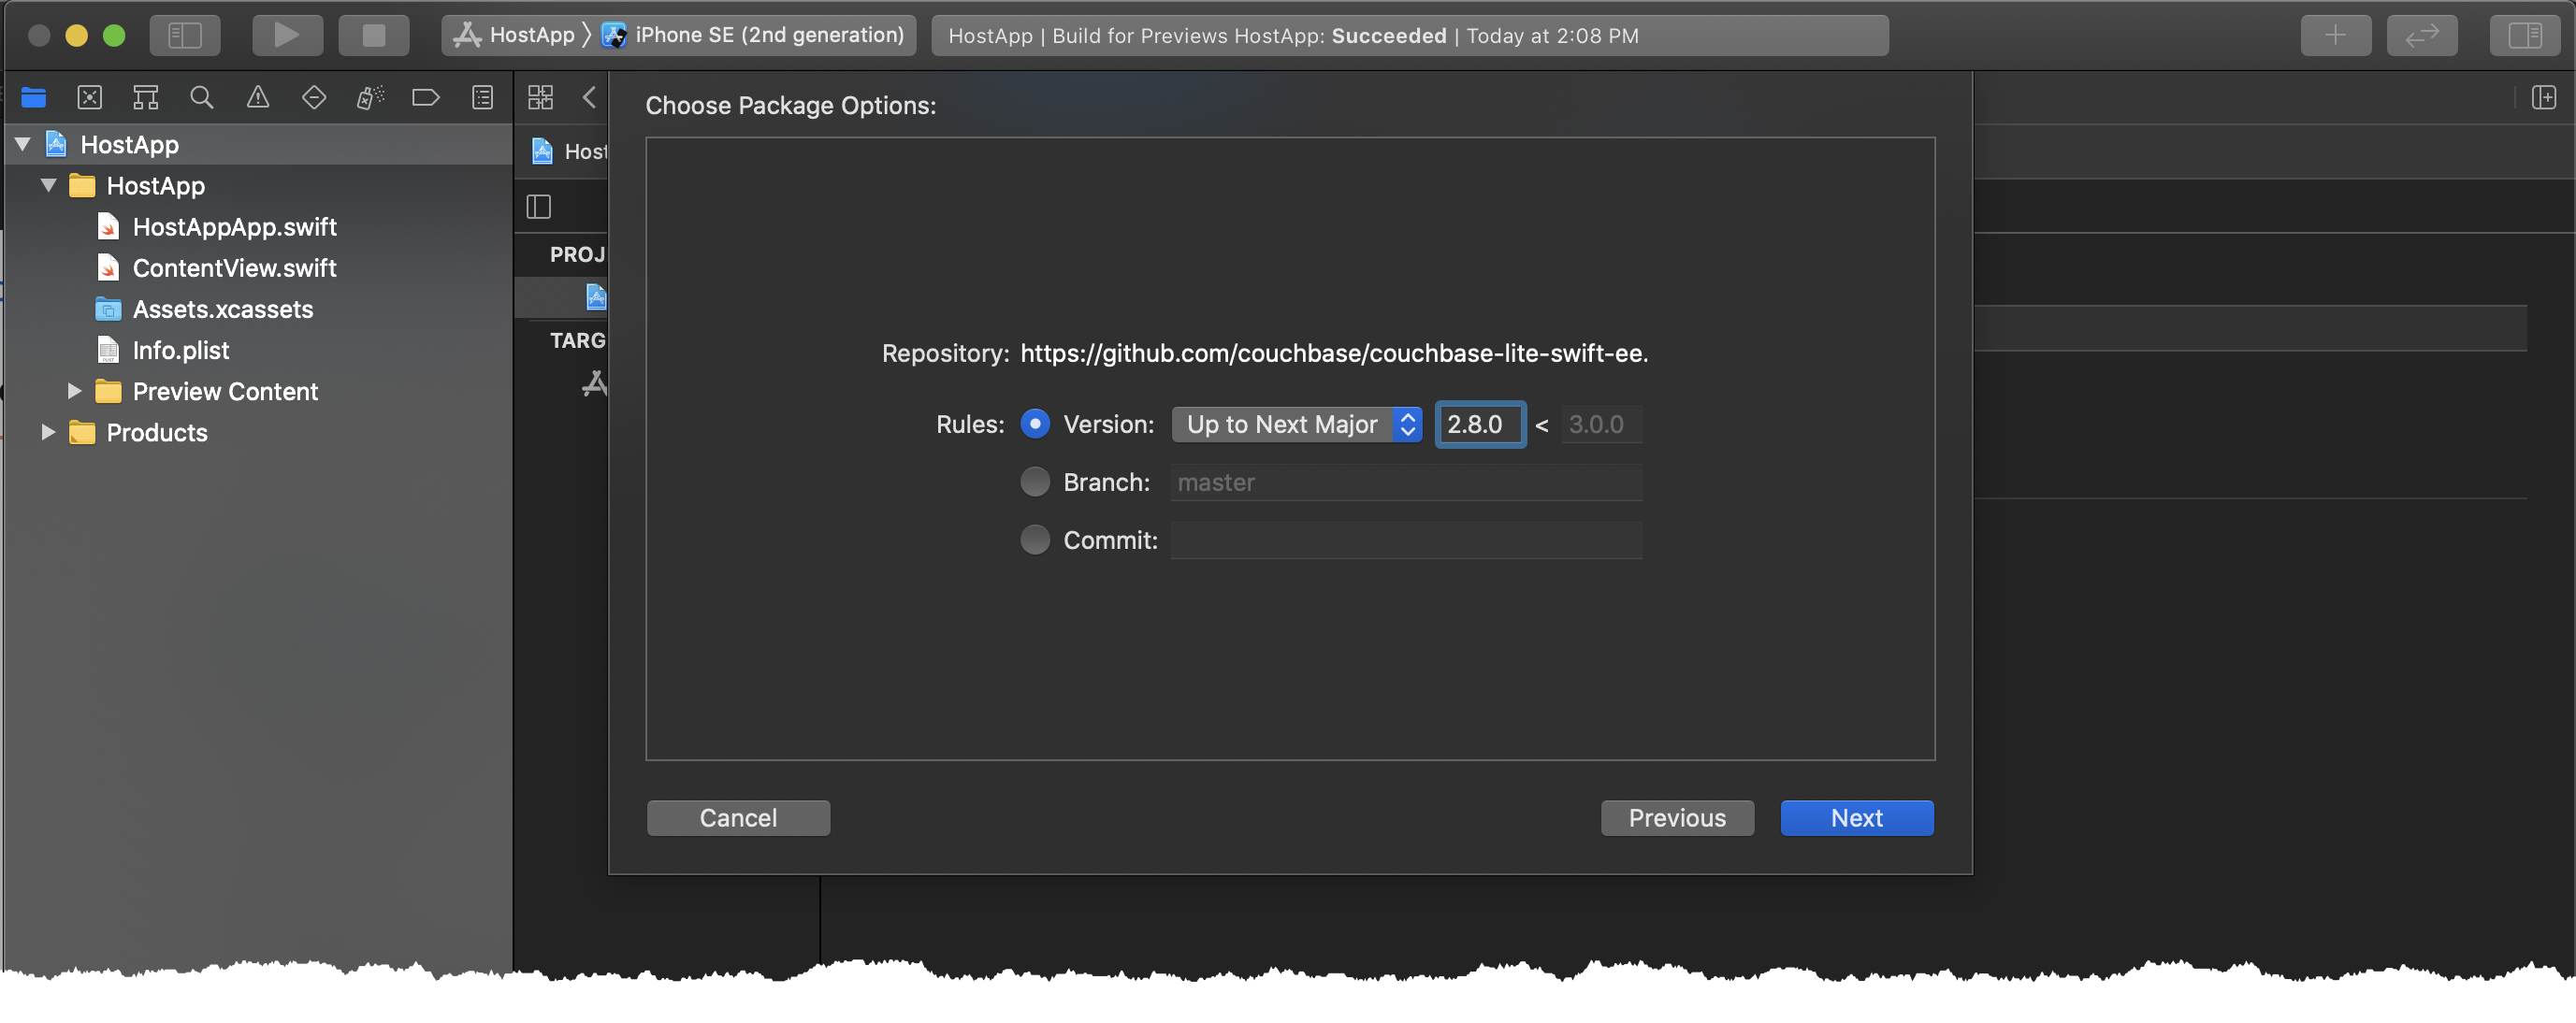
-
Finish to close the Choose Package Repository dialog
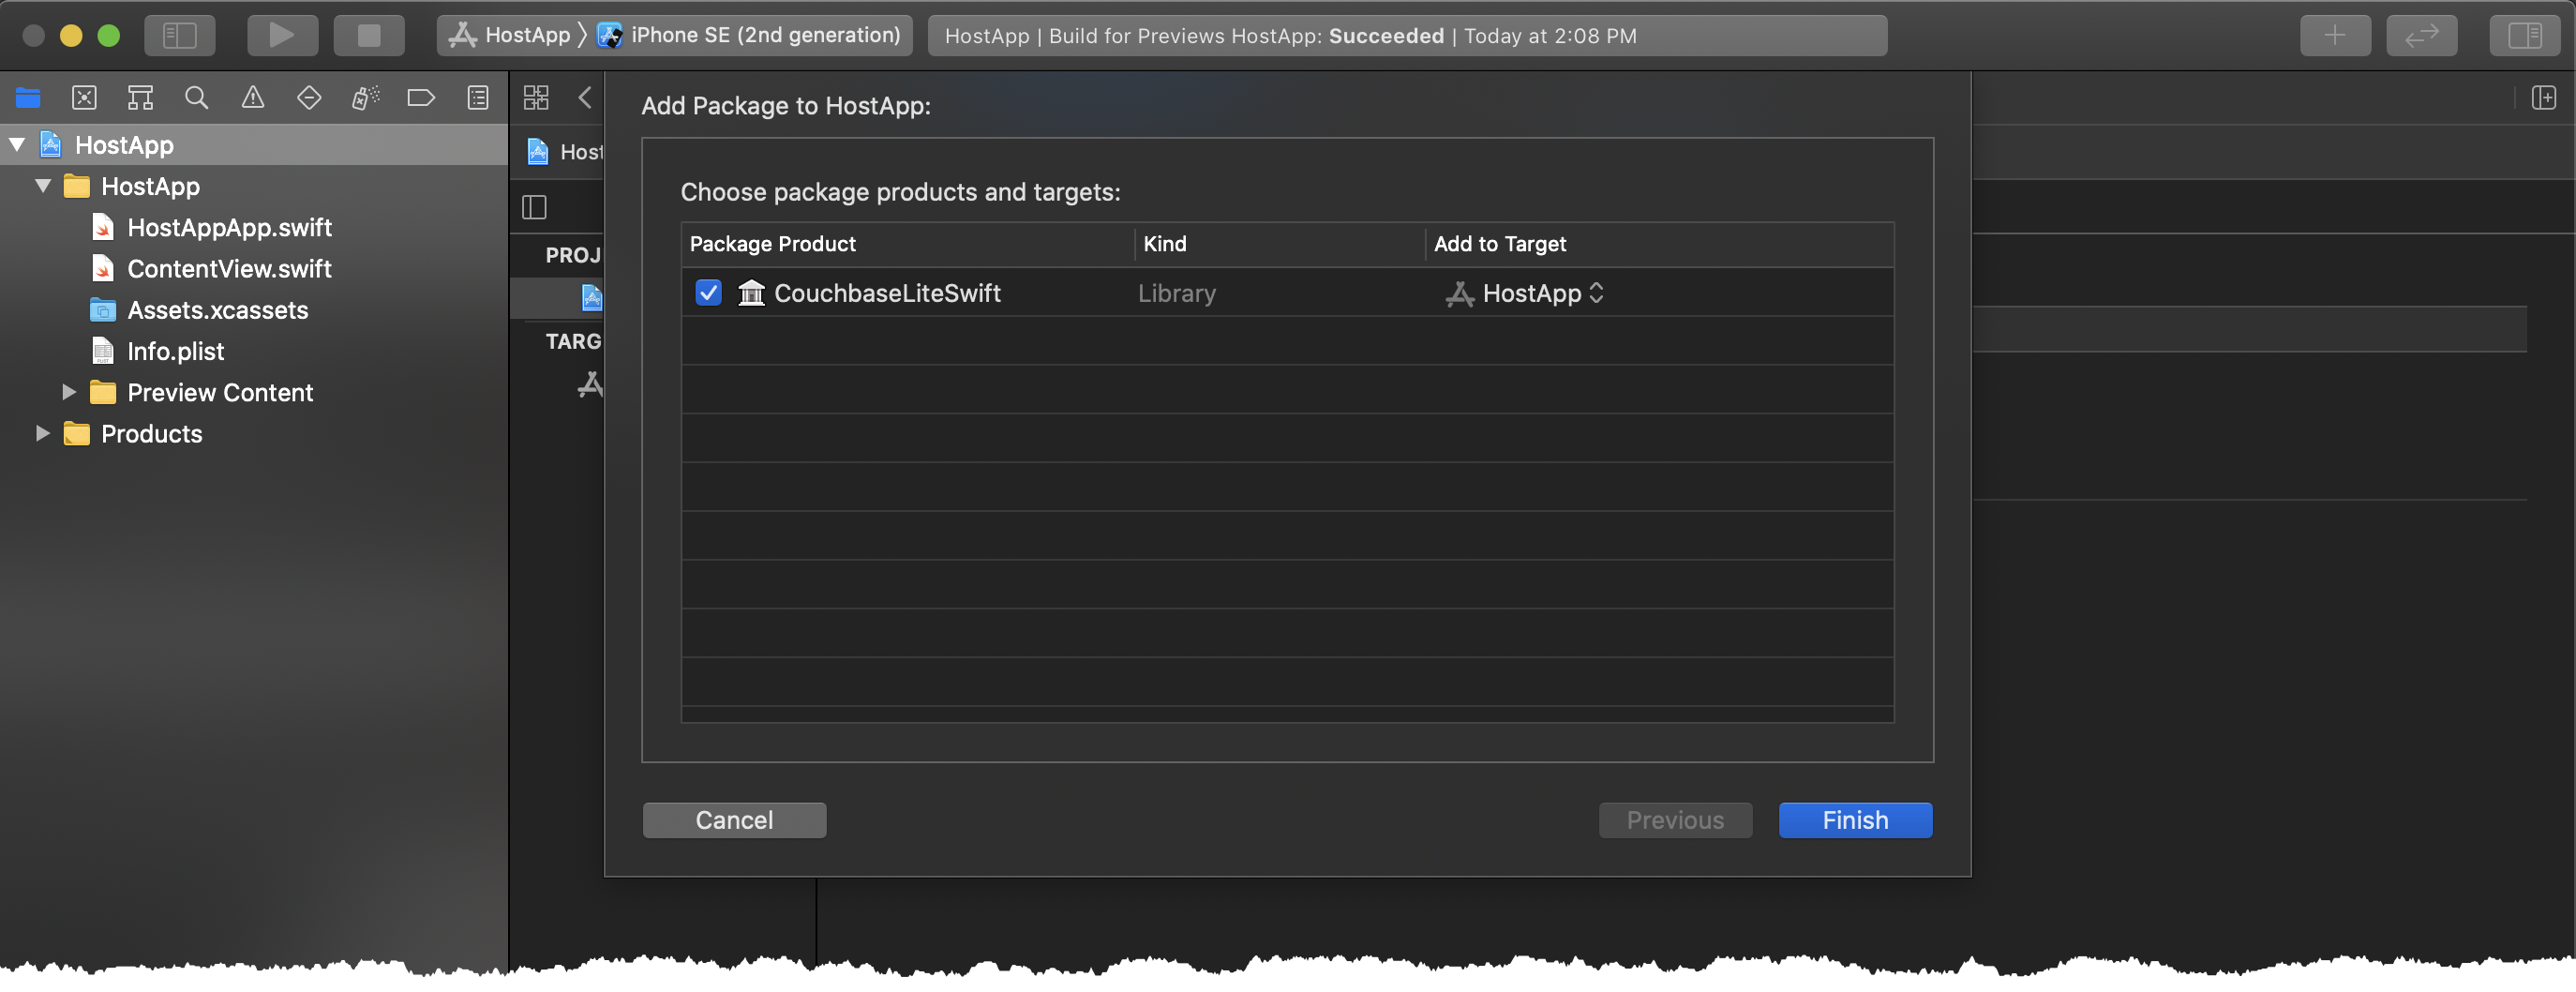
Xcode displays the name, version and URL of the added CouchbaseLiteSwift Package

-
You can now import CouchbaseLiteSwift, and use it in your app
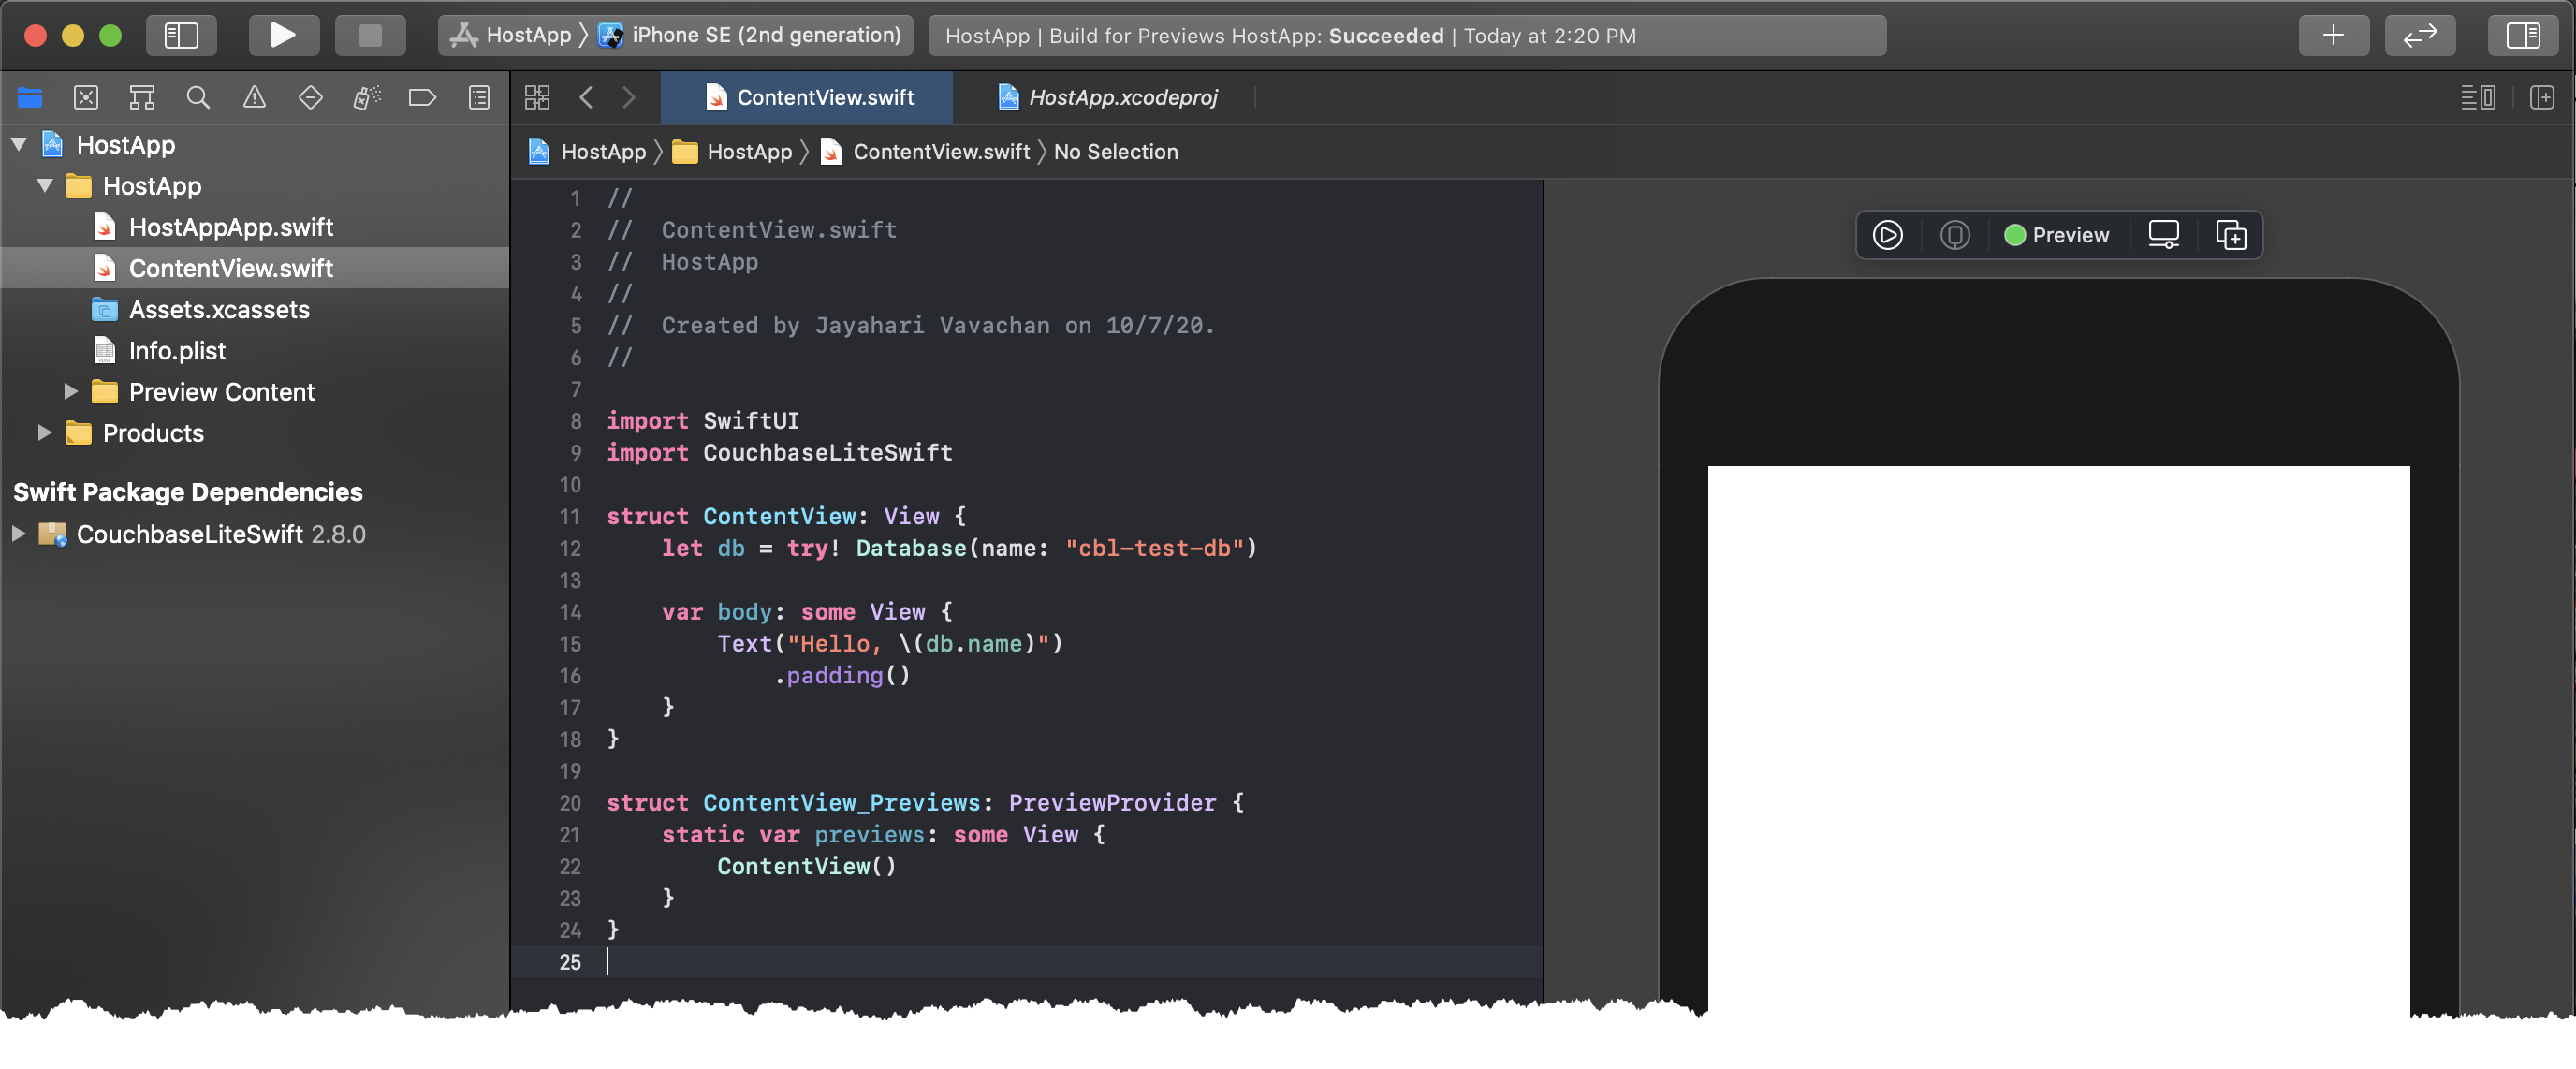
Install Vector Search Extension
| The Vector Search extension is an Enterprise-only feature. |
You can get set up with the Vector Search Extension for iOS (Swift) by following these instructions.
|
To use Vector Search, you must have Couchbase Lite installed and add the Vector Search extension to your Couchbase Lite application. There is no Carthage support for the beta release of Vector Search. Vector Search is available only for 64-bit architectures and Intel processors that support the Advanced Vector Extensions 2 (AVX2) instruction set. To verify whether your device supports the AVX2 instructions set, follow these instructions. |
-
Direct Download
-
Carthage
-
CocoaPods
-
Swift Package Manager
-
Download the binaries from here — binary download link.
-
Unpack the download zip file into your XCode project location.
-
Select your target settings in XCode and drag CouchbaseLiteVectorSearch.xcframework from your Finder to the Frameworks, Libraries, and Embedded Content section.
-
Start using Couchbase Lite Vector Search on Swift in your project.
| The minimum required Carthage version is 0.38+ |
-
Install Carthage using the instructions here:
https://github.com/Carthage/Carthage#installing-carthage -
In your Cartfile, add the appropriate 'binary' URL:
binary "http://packages.couchbase.com/releases/couchbase-lite-vector-search/carthage/CouchbaseLiteVectorSearch.json" ~> 1.0.0 (1)1 Specify the required version number, here we use the latest version -
Run
carthage update --platform ios. -
Drag CouchbaseLiteSwift.xcframework from Carthage/Build/ to the Xcode navigator.
-
Select , add CouchbaseLiteSwift.xcframework to this section.
| The minimum required Cocoapods version is 1.15 |
-
Install CocoaPods using the instructions here:
https://guides.cocoapods.org/using/getting-started.html -
Add one of these targets to your Podfile:
Example 2. Couchbase Lite Enterprise Editiontarget 'Example' do use_frameworks! pod 'CouchbaseLiteVectorSearch', '1.0.0' (1) end1 Specify the required version number, here we use the latest version of the beta -
Install the pods and open the
.xcworkspacefile generated by CocoaPods, using:pod install
| Using Swift Package Manager to install CouchbaseLiteVectorSearch requires XCode 12+ |
This tab explains how to include the CouchbaseLiteVectorSearch package within your app
See: Use Case 1. Include in Existing Swift Package | Use Case 2. Include in Your App Project
Here we will add the CouchbaseLiteVectorSearch package as a dependency to your Parent Swift package.
-
Add the CouchbaseLiteVectorSearch package as a dependency by including the following in the parent package manifest:
dependencies: [ .package(name: "CouchbaseLiteVectorSearch", url: "https://github.com/couchbase/couchbase-lite-vector-search-spm.git", from: "1.0.0"), ], -
Add the dependent package product name to the target:
targets: [ .target(name: "ParentPackage", dependencies: ["CouchbaseLiteVectorSearch"]), ] -
CouchbaseliteVectorSearch will be automatically detected and loaded in when creating a CouchbaseLite database object.
Here we will add CouchbaseLiteVectorSearch directly into your app.
-
Open the project to which you are going to add CouchbaseLiteVectorSearch
-
Open the Project Editor to add a dependency
-
In Project Navigator:
Select your XCode project file (for example,HostAppin the example)
XCode opens the Project Editor pane -
In the Project Editor pane:
Select and + to add the dependency
XCode opens the Choose Package Repository dialog
-
-
In the Choose Package Repository dialog:
Enter the appropriate Couchbase Lite URL, Next to continue
For Vector Search: https://github.com/couchbase/couchbase-lite-vector-search-spm.git -
Enter the required Version (1.0.0) and Next to continue
-
Finish to close the Choose Package Repository dialog
XCode displays the name, version and URL of the added CouchbaseLiteVectorSearch Package
-
Finally, you can enable the vector search extension using the following snippet:
try Extension.enableVectorSearch()| You must enable the extension before you open your database. |