Modify a Paid Cluster
- Capella Operational
Review, modify, and rename Couchbase Capella clusters.
Use the procedures on this page to modify an existing Couchbase Capella cluster. If you want to learn about scaling a cluster, see Cluster Scaling.
| For scaling a Single Node cluster, see the limitations of different cluster configuration options. |
Prerequisites
-
You have the
Project OwnerorProject Managerrole for the project with the cluster you’re modifying.
View Cluster Node Configurations
Before modifying a cluster, you can review a list of all individual nodes running on it. This list includes the hostname, status, and services associated with each node. It also describes each node’s CPU, RAM, and disk usage. Node statuses are Normal, Deploying, and Unhealthy.
-
Open the Settings page for your cluster:
-
With the Projects tab in your organization open, click the project with the cluster you’re working with.
-
With the Operational tab open, select your cluster.
-
Click the Settings tab.
-
-
In the navigation pane, click Nodes:

To modify service configurations, see Modify the Cluster Configuration.
Modify the Cluster Configuration
Cluster configuration options depend on the chosen cloud provider. For more information about the configuration options available for each cloud provider, see Amazon Web Services (AWS) and Google Cloud Platform (GCP).
Add a Service
| You can enable Couchbase Capella’s Storage Auto-Expansion feature to automatically increase your storage capacity as your data grows. |
Service groups allow you to create node configurations for specified Couchbase services.
-
Open the Settings page for your cluster:
-
With the Projects tab in your organization open, click the project with the cluster you’re working with.
-
With the Operational tab open, select your cluster.
-
Click the Settings tab.
-
-
In the navigation pane, click Services.
-
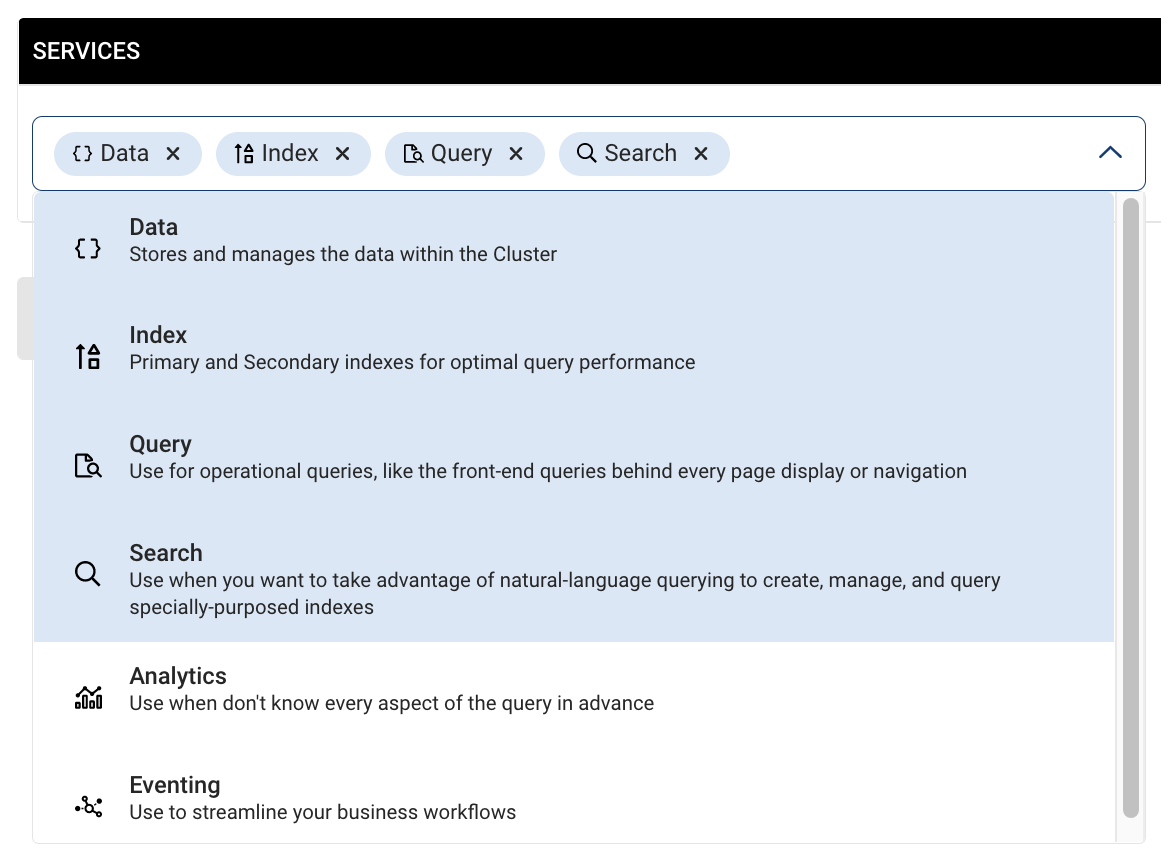
Use the Services list to select the services you want to add:
You can also add another service group by clicking Add Service Group.
Once you add a service to a new or existing service group, you may need to adjust its hardware configuration. For more information about sizing a cluster, see Sizing a Cluster.
Node RAM AllocationsIf you deploy multiple Services in a Service Group, Capella distributes the memory allocated to each node in that group between the operating system and all deployed Services.
Capella gives 20% of the available RAM on a node to the operating system. It divides the remaining RAM evenly between Services in the Service Group. For example, if there was 25 GB of RAM available on a node in a Service Group that needed to run 3 Services, each Service would get 8.3 GB of RAM (25/3).
If you plan to run more than 1 Service on the nodes in your Service Groups, make sure to size your nodes with appropriate compute resources. For production clusters, consider running each of your Services with their own dedicated nodes to give them enough RAM.
-
If you have no other changes, review and apply the new configuration.
|
Limitations
|
Remove a Service
-
Open the Settings page for your cluster:
-
With the Projects tab in your organization open, click the project with the cluster you’re working with.
-
With the Operational tab open, select your cluster.
-
Click the Settings tab.
-
-
In the navigation pane, click Services.
-
To remove a service, click the x icon for the service you’re removing in the Services list:

-
If you have no other changes, review and apply the new configuration.
|
Limitations
You cannot remove the Data Service. |
Add or Remove Nodes
-
Open the Settings page for your cluster:
-
With the Projects tab in your organization open, click the project with the cluster you’re working with.
-
With the Operational tab open, select your cluster.
-
Click the Settings tab.
-
-
In the navigation pane, click Services.
-
Using the Nodes list in the service group you’re modifying, choose a new number of nodes for this configuration.
-
If you have no other changes, review and apply the new configuration.
|
Limitations
|
Change Compute
-
Open the Settings page for your cluster:
-
With the Projects tab in your organization open, click the project with the cluster you’re working with.
-
With the Operational tab open, select your cluster.
-
Click the Settings tab.
-
-
In the navigation pane, click Services.
-
Use the Compute drop-down in the service group you’re modifying to choose a new compute instance type.
The compute dictates the number of vCPUs and memory provisioned for each node in a service group.
-
If you have no other changes, review and apply the new configuration.
|
Limitations
|
Change Disk Type
-
Open the Settings page for your cluster:
-
With the Projects tab in your organization open, click the project with the cluster you’re working with.
-
With the Operational tab open, select your cluster.
-
Click the Settings tab.
-
-
In the navigation pane, click Services.
-
Use the Disk Type control to change disk types for the configuration you’re modifying.
-
If you have no other changes, review and apply the new configuration.
|
Limitations
|
Increase Storage
-
Open the Settings page for your cluster:
-
With the Projects tab in your organization open, click the project with the cluster you’re working with.
-
With the Operational tab open, select your cluster.
-
Click the Settings tab.
-
-
In the navigation pane, click Services.
-
Using the Storage box of the service group you’re modifying, enter the amount of storage you want per node for this configuration. If the cluster uses Azure, you must choose a new disk type to increase storage.
-
If you have no other changes, review and apply the new configuration.
|
Limitations
Storage cannot be removed from a service configuration once added.
|
Change IOPS
|
Adjusting the IOPS rate affects performance and cost. When creating or modifying a cluster with AWS gp3, AWS io2, or Azure Ultra Disk and choosing a storage option, Capella uses recommended defaults for the IOPS field. You can replace the default IOPS value with one higher than the default but not lower. For the recommended IOPS values for clusters using AWS gp3, AWS io2, or Azure Ultra Disk, see IOPS Defaults. |
-
Open the Settings page for your cluster:
-
With the Projects tab in your organization open, click the project with the cluster you’re working with.
-
With the Operational tab open, select your cluster.
-
Click the Settings tab.
-
-
In the navigation pane, click Services.
-
Using the IOPS box, enter the IOPS value for the service group you’re modifying.
This field isn’t shown when a cluster uses GCP as its cloud provider. If you’re using Azure’s Premium SSD disk type, you can’t change the value of this field.
-
If you have no other changes, review and apply the new configuration.
|
Limitations
|
Review and Apply Changes
-
Review and update configuration
All the changes you make to a cluster are on the Service page. Review this new configuration to ensure it meets your requirements.
Any warnings about your proposed changes appear on the Service page and can prevent you from updating the configuration until you resolve them. If you need to discard your changes, click Cancel.
-
Once you have reviewed the changes, click Save.
The cluster rebalances and redistributes service data over the new superset of nodes. The amount of time taken for the new nodes to rebalance into the cluster depends on the service of the new nodes, and how much data is redistributed. The cluster remains available during the rebalance, but you can’t make further changes until the rebalancing is complete.
Rename a Cluster
-
Open the Settings page for your cluster:
-
With the Projects tab in your organization open, click the project with the cluster you’re working with.
-
With the Operational tab open, select your cluster.
-
Click the Settings tab.
-
-
In the Cluster Name field, enter a new name for the cluster.
-
Click Save.
Change Your Deletion Protection
Turn on deletion protection to stop accidental deletion of a cluster from the Capella UI, the Management API, or any other external tools, such as Terraform. If you turn on deletion protection, Capella will also automatically turn on deletion protection for any App Services linked to your cluster.
Cluster deletion protection also prevents bucket deletion or bucket flushing.
You can change this setting even when a cluster is turned off.
|
To change deletion protection settings, you must have the |
To change the deletion protection setting for a cluster:
-
Open the Settings page for your cluster:
-
With the Projects tab in your organization open, click the project with the cluster you’re working with.
-
With the Operational tab open, select your cluster.
-
Click the Settings tab.
-
-
Select or clear Enable Deletion Protection.
-
Click Save.